I don’t know about you but taking a break from homeschooling is a complete must. Why not take the time and bring in some Disney magic into our homes with a fun and easy craft, using something we all have plenty of: toilet paper tubes!
During this time home, my girls will be making different Disney crafts using none other than its high in demand product: toilet paper! Do not fret, as you will only be using the tube and not the actual coveted white paper!
For today’s activity, my girl’s made a Baby Yoda. This is a very easy craft that will have everyone in the family singing the “Baby Yoda” song that can easily be found with a quick YouTube or Google search!
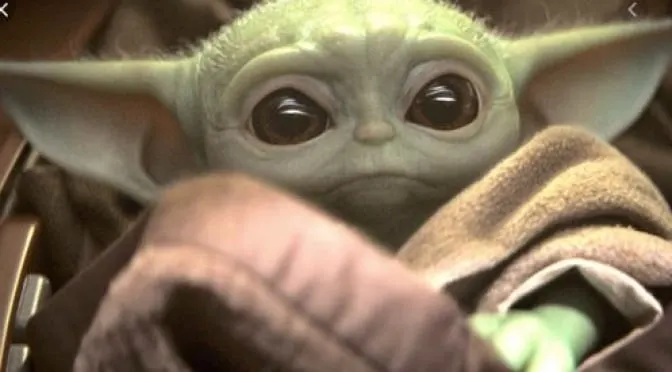
It may even inspire you to watch Mandalorian! Sure would be amazing if Season 2 would arrive on Disney+, huh?!
How to Make a Toilet Paper Baby Yoda
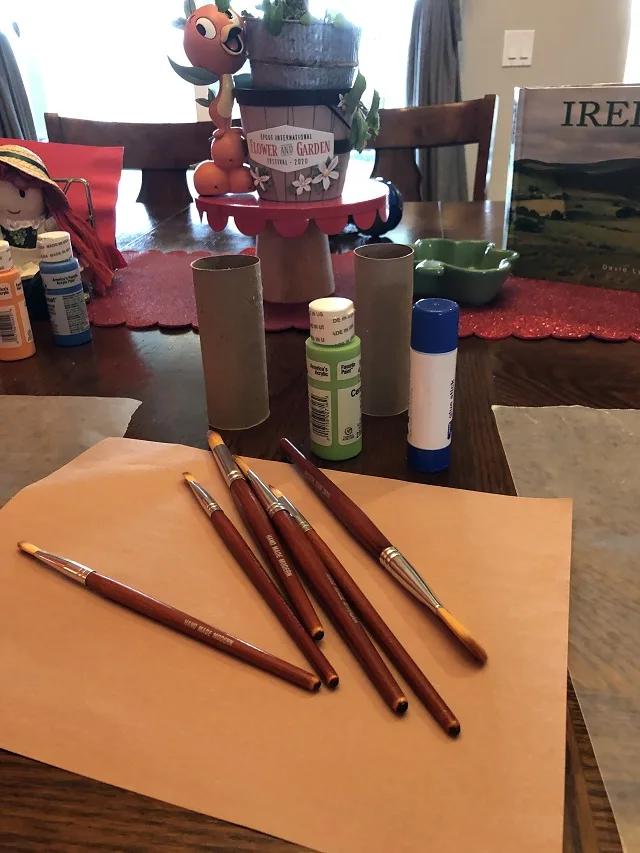
Supplies
- Toilet paper rolls, preferably after you’ve already used the toilet paper!
- Green acrylic paint
- Brown construction paper
- Black Marker
- Craft glue and/or double-sided tape
- Paintbrush
- Something to lay down like an old table cloth or some brown paper bags
- Clean up supplies, like soapy water and paper towels
Instructions
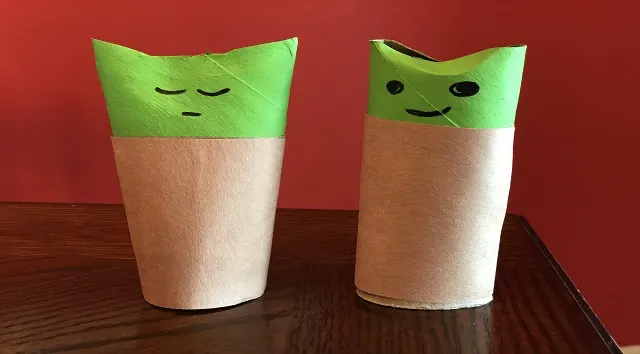
The first step in making your Baby Yoda is to paint the top half of the toilet paper roll green. We found that three or four coats of green helped make the brown part of the toilet paper roll not visible anymore.
Really lay it on there thick! Just make sure you have something underneath so you don’t ruin your workspace. Plus, it makes clean up easier!
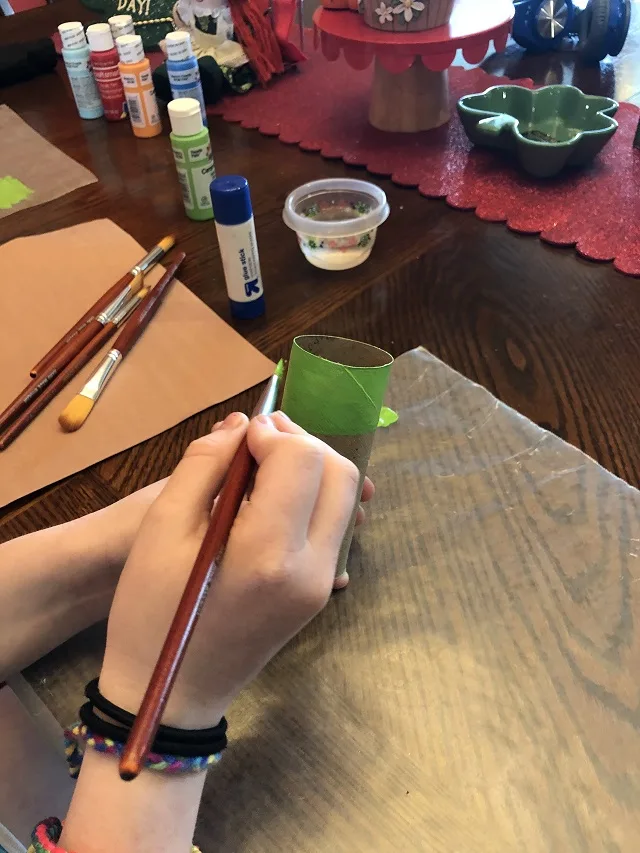
We then left Baby Yoda to take a nap for about half an hour in order for him to completely dry. Maybe while he’s napping, your kids can do some of their school work!
Or, they can start moving onto the next step.
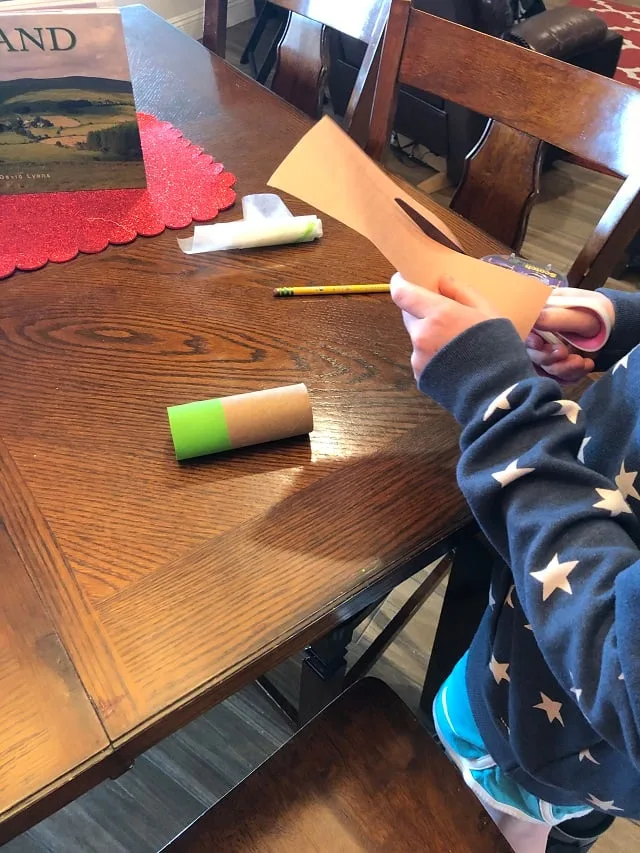
While he napped, the girls cut out a rectangle from the brown paper to make his robe. For our toilet paper roll, the strips were 2 1/2 ” x 5″ but you can cut it according to the length of your tube.
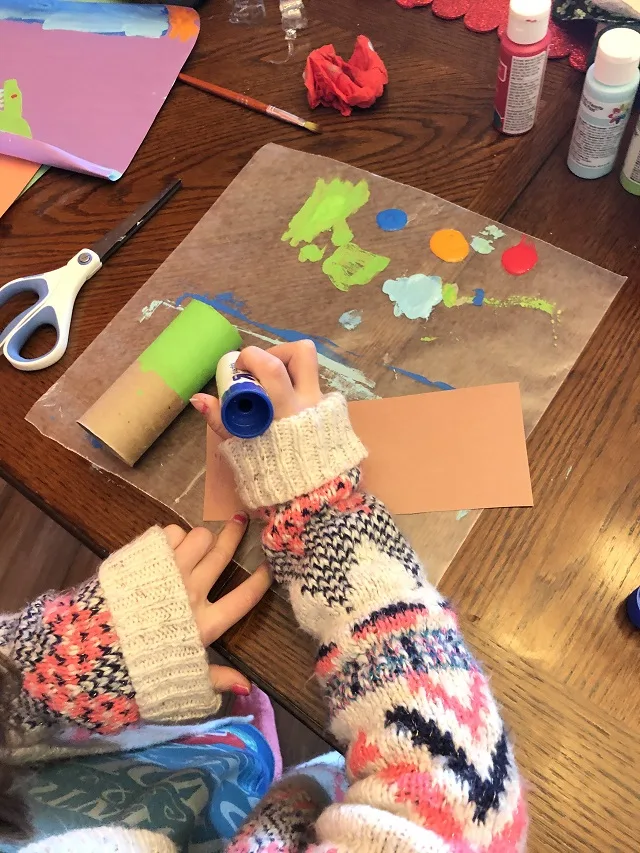
When Baby Yoda awoke from a much-needed nap, we wrapped the brown paper around his body to create his robe using either the glue or the double-sided tape! We only have glue around the house, so we had no other option!
Next came the fun part. Shaping him to actually look like Baby Yoda and putting our force skills to the test!
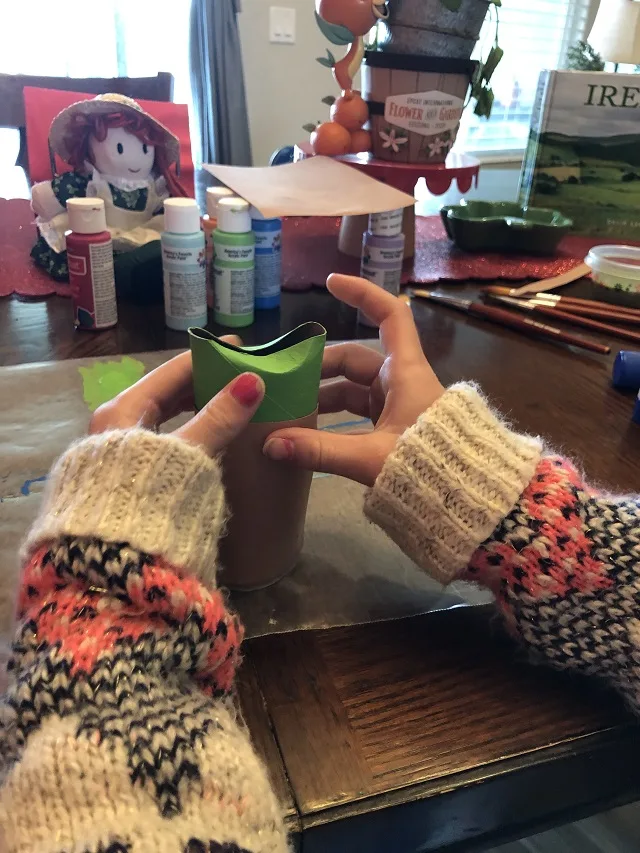
Begin by pressing the two sides of the top of the toilet paper roll together. You will notice that they will overlap.
Continue by pressing them together and pressing them allowing the two points “Baby Yoda ears” to form on the side. Squish and mold his ears to your liking.
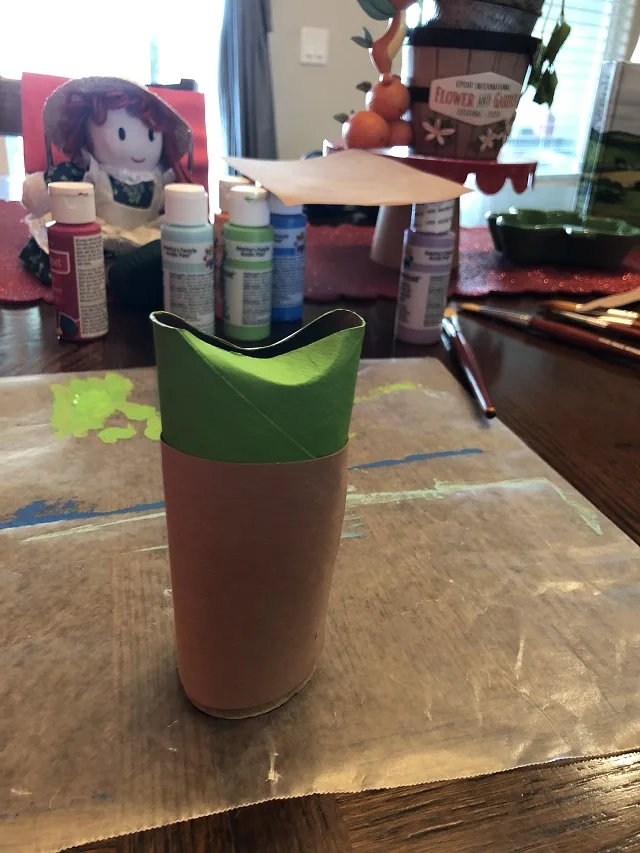
My youngest daughter found these instructions to be fairly easy. However, my oldest decided to shape them by using scissors. Get creative, but get those cute Baby Yoda ears shaped!
Lastly, do not forget to draw Baby Yoda’s precious face on by using a black marker!
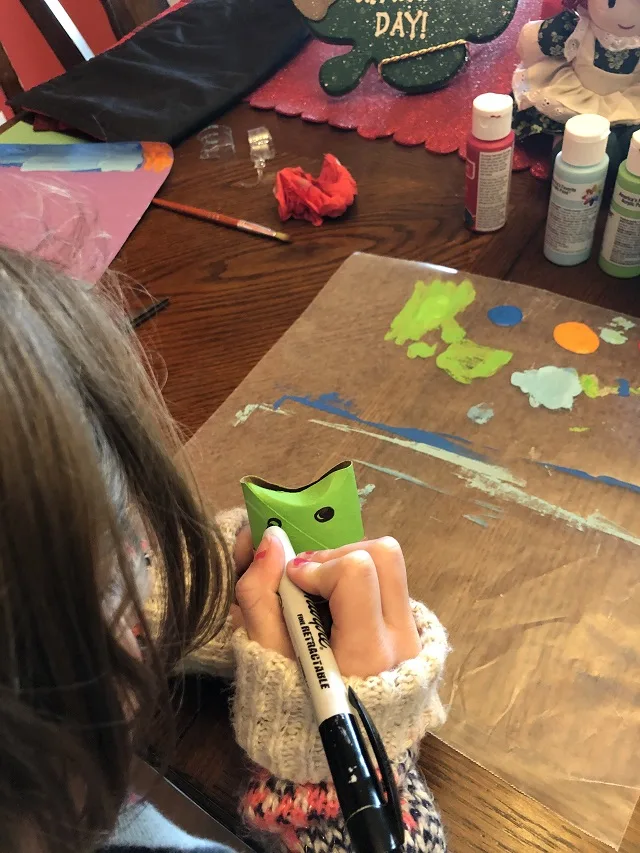
And voila! The cuteness is strong with this one!
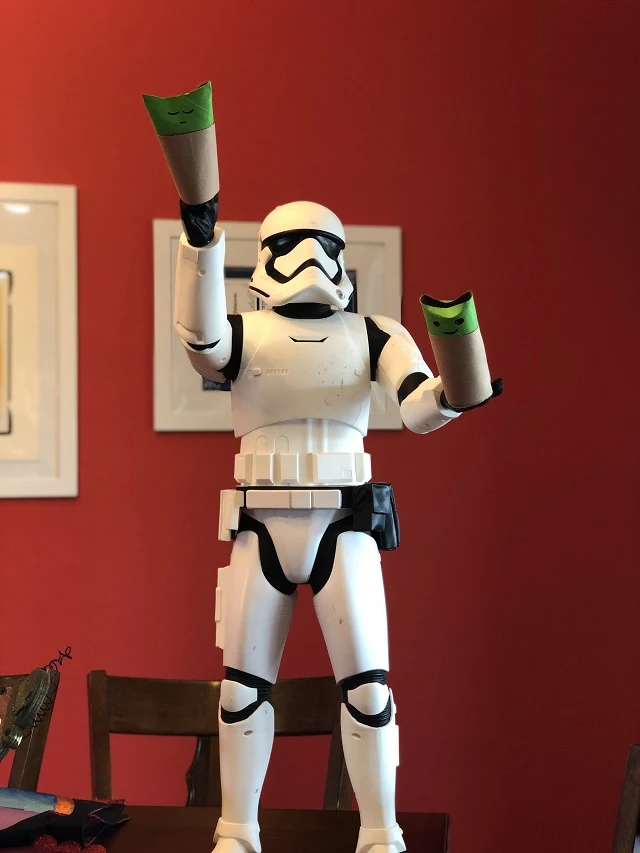
To place the ultimate finishing touch, the girls decided to pose their Baby Yoda’s with my daughter’s Stormtrooper. I mean, why not?! It certainly kept them busy for quite a while!
More Activities to Come!
Join me on our next toilet paper Disney craft adventure where we will create various characters from a film that will take us on a magic carpet ride!
If you’re interested in seeing other crafts our team of writers has put together, check out Amanda’s sight word game and Donna’s full day of St. Patrick’s Day fun!
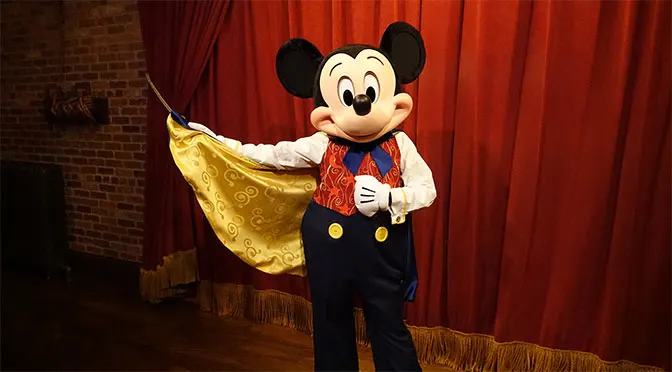
We will be bringing you many more ways to “Disney-fy your downtime” in the coming weeks! From Disney playlists to Disney makeup tutorials, we plan to help you make the most of our time until we can all see our favorite Mouse again! Check out KennythePirate’s announcement HERE.
Will you be creating your very own Baby Yoda? Let us know on Kenny the Pirate’s Facebook page or join our crew. Do not forget to share your Baby Yoda creations with us!
-Marisol White
Discover more from KennythePirate.com
Subscribe to get the latest posts sent to your email.


What do you think?