How to Set Up and Manage the new MagicBand+
Will you purchase the new MagicBand+? Be sure to check out these easy steps to set up yours.
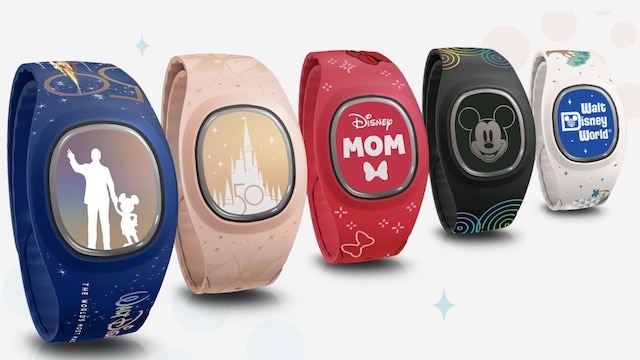
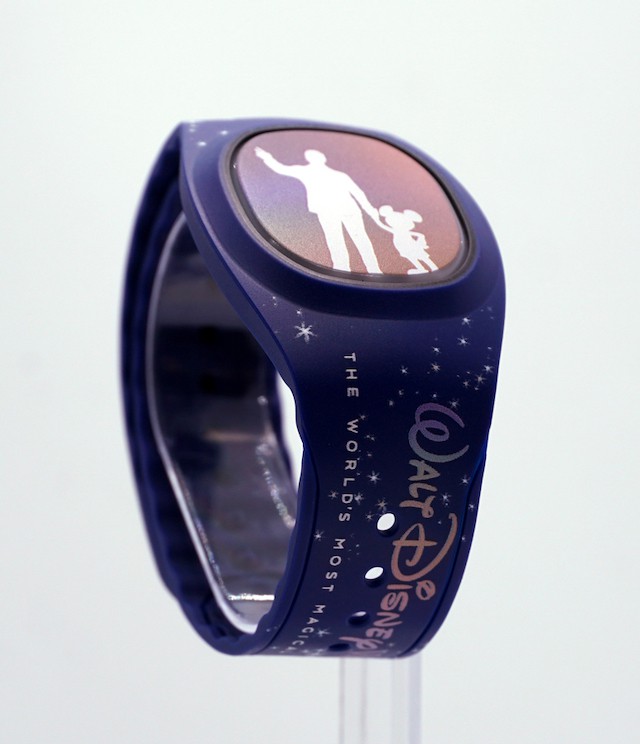
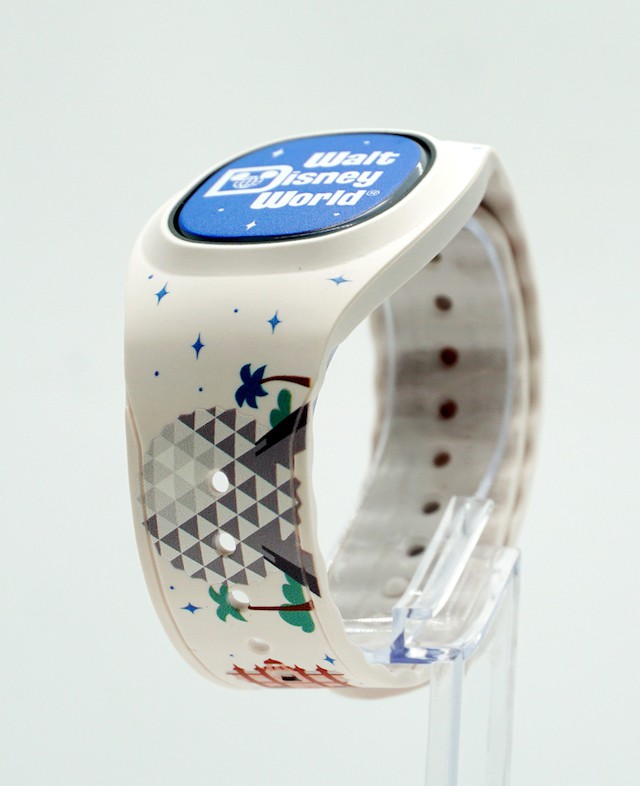
MagicBand+
The new MagicBand+ will allow Guests to interact with the Fab50 character statues that can now be found in ALL 4 of the Theme Parks. Check out how preparation can already be seen for the MagicBand+ in the Parks HERE.
This newly designed band will also light up and even vibrate depending on where you are located in the Parks. We have seen testing of the new MagicBand+ interacting with 50th Anniversary statues and also in the new Star Wars: Batuu Bounty Hunter interactive experience.
Earlier today, Disney released when MagicBand+ will be available for purchase, pricing, and discounts offered for select guests. Be sure to check out all of the details HERE.
How to Set-Up

Once you purchase your new MagicBand+, you will need to follow a few simple steps to begin unlocking the magic. The MagicBand+ can be recharged and comes with a USB cable. Disney says MagicBand+ should remain charged anywhere from 1-3 days.
The MagicBand+ can be recharged and comes with a USB cable. Disney says MagicBand+ should remain charged anywhere from 1-3 days.
If your MagicBand+ is no longer charged, you can still use this MagicBand+ as a traditional MagicBand to unlock Resort rooms, charge items, enter parks, and enter using Lightning Lane.
Step 1
Power your band on by pressing the button on the back once, and tap the band on your phone.
Step 2
You will be directed to open and download the My Disney Experience app.

Step 3
Follow the instructions in the app to link the MagicBand+ to your Disney account, assign it to a Guest, and pair it to your mobile device. Then, use the app to make sure your band is charged and the software is up to date.
Step 4
Be sure to link your park tickets, reservations, and more.
After these 4 simple steps, you can then enjoy the many great interactive elements throughout Walt Disney World.
Manage Multiple MagicBands and Customize
Want to manage all the MagicBand+ accounts? A few simple steps will allow you to manage multiple MagicBands. First, choose MagicBands and more. Secondly, view your managed guests. Thirdly, if a guest's MagicBand+ is not set up yet, you can set this up during this step. Finally, adjust your managed Guest's MagicBand+ settings, check battery status, and more.
You can even customize your MagicBand+ as well. First, select MagicBands and select "Customize your MagicBand+." Then simply swipe to the band you want to customize.
Secondly, confirm that your MagicBand+ is charged and up to date. Thirdly, choose a custom light-up theme. Finally, you can adjust the vibration and motion recognition settings.
What do you think of the new MagicBand+? Do you like that it is rechargeable or is this too much hassle for you and your family? Will you be purchasing the new MagicBand+? Share your thoughts with us on our Facebook Page.