Disney-fy Your Down Time: DIY Mug Display
Do you have a favorite item that you like to collect every trip "home" to a Disney Park? Are you looking for a clever way to display your collection? Join me as I create a display of my favorite Disney souvenir, the collectible mug.
My Growing Collection
My name is Donna, and I have a Disney mug addiction. I purchased my last Disney mug 47 days ago. I love anything that helps me to remember our past Disney trips.
I keep a look-out during each trip that we make "home" to find a mug that will help our family to remember something special from that trip. I know you are curious which mug was added 47 days ago.
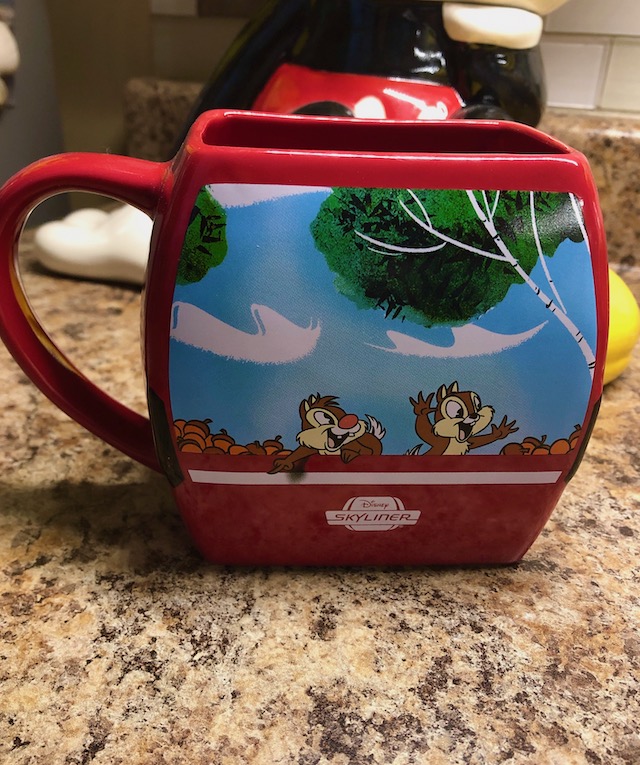
We purchased the Disney Skyliner mug. This was our first time riding the Skyliner and our kids felt that this was an attraction rather than simply a mode of transportation.
The Start of Our Collection
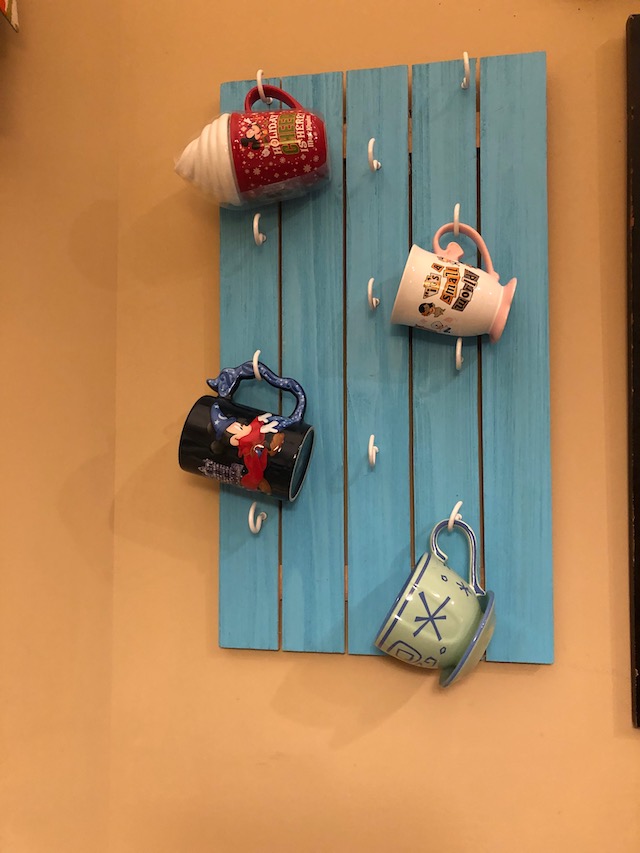
This is the mug that started it all. We purchased our first mug back in 2014. This was my youngest princess's first trip to the Walt Disney World and she fell in love with the "it's a small world" attraction.
We sailed on the "Happiest Cruise That Ever Sailed" four times during that trip. You can take a sail on it virtually HERE!
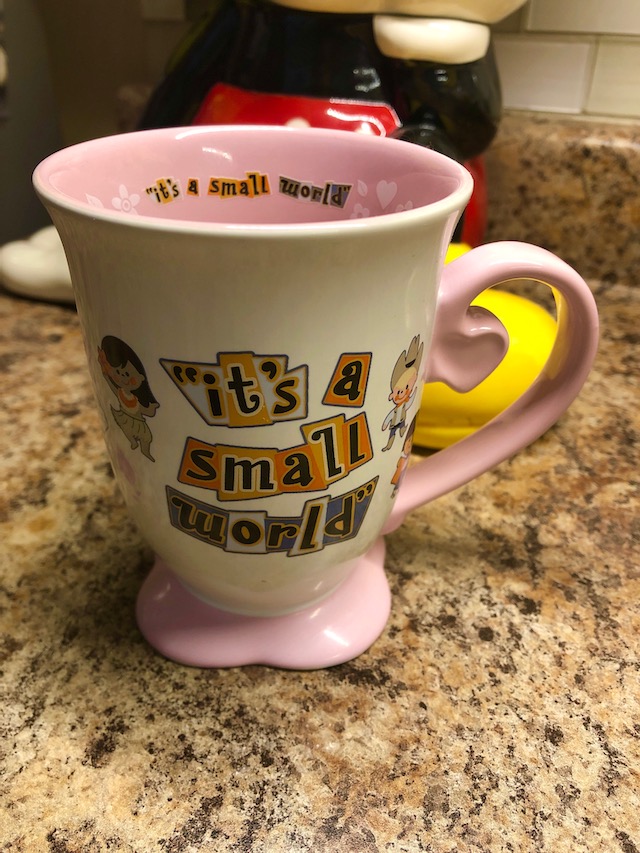
Each time we set sail, my youngest princess sang a little louder and jumbled the words a little more each time. Every time I see this mug, all of those sweet memories come flooding back.
This led to our collection. Each trip we added another mug to remember memories from that trip. Eventually, we had eight mugs and no way to display them.
Shopping Trip
I had said multiple times that I would find a way to display all of my mugs when I had some downtime. Enter social distancing to give me ample time to complete this craft.
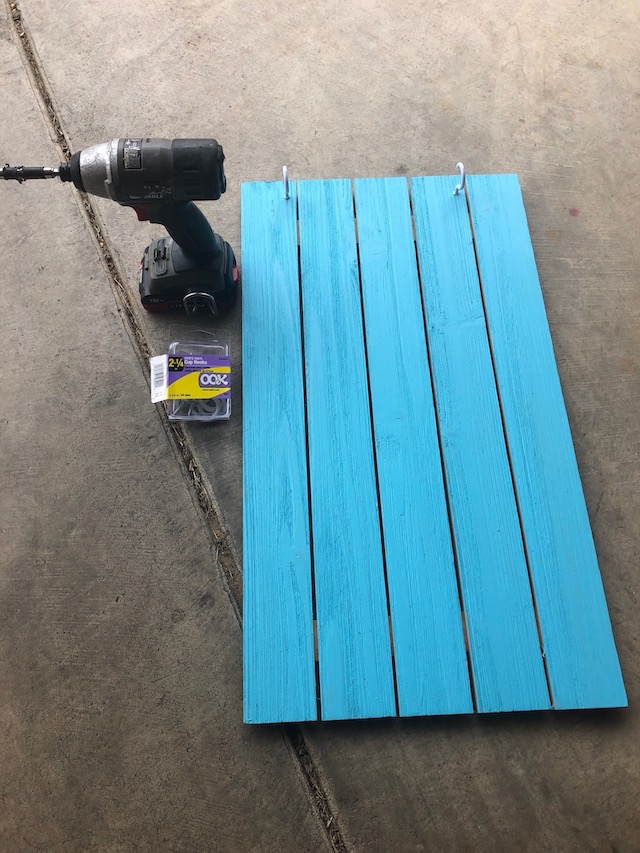
I headed to Michaels to grab all of my crafting needs. I first chose this crafting board to start with.
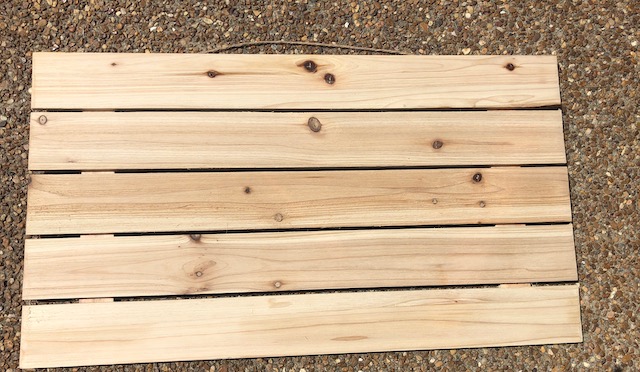
I loved this wood pallet plaque by Art Minds because it was a great size at 15"x26" and the fact that it was unfinished allowed me to customize a color to match my kitchen where I would be displaying the mugs.
This board was originally $16.99, but I was also able to keep this project cost down with a 40% off coupon from the Michael's website.
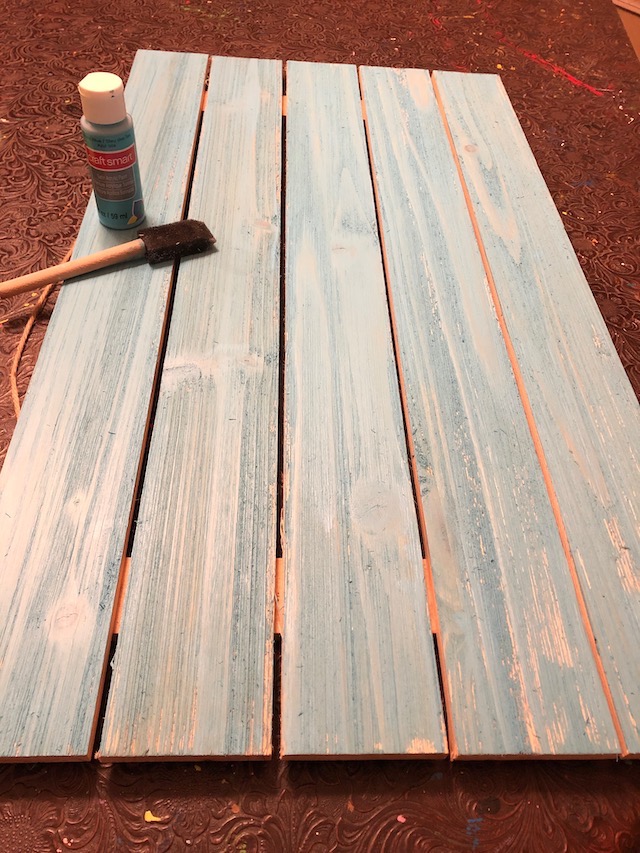
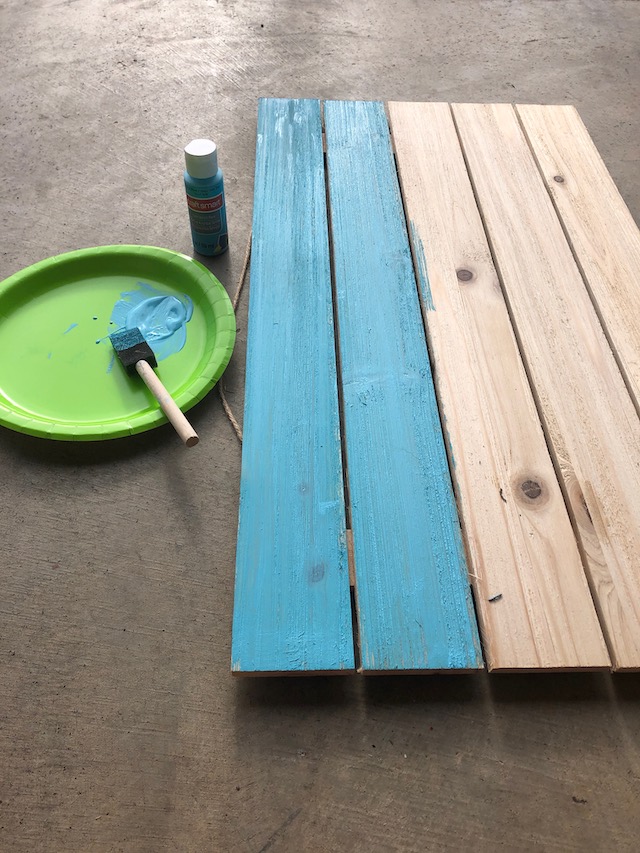
Also from Michaels, I purchased Craft Smart acrylic paint in "island blue." I purchased 2 bottles and used about one and a half to complete one board.
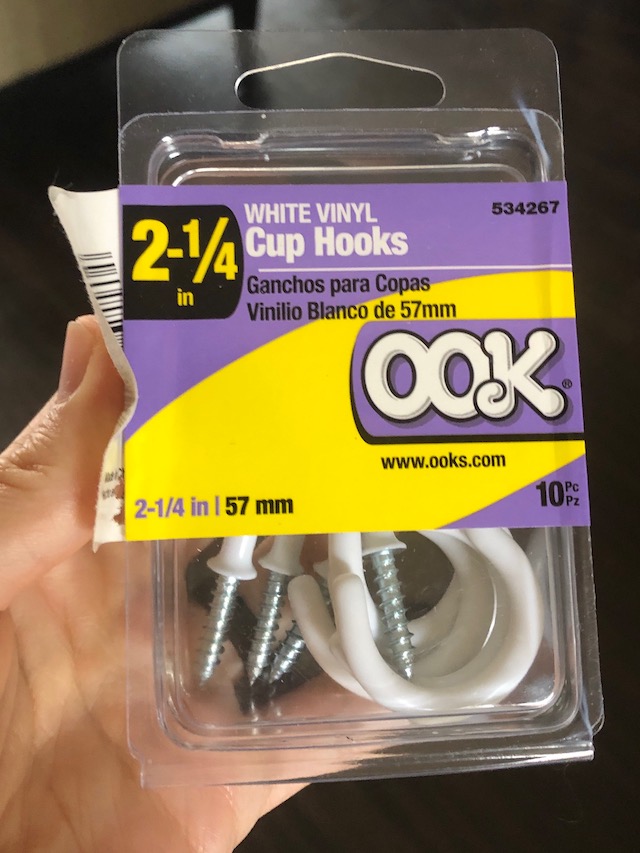
The final item needed for this craft was hooks to hang the mugs on. Many of the mugs that I have purchased have fairly wide handles. I knew I needed a large hook to help display these securely.
A trip to Home Depot was in order. This package of 10 cup hooks was available for $5.99.
Step #1
The first step was to change the hanger for this board. Originally it was attached to hang horizontally, but I wanted this project to be hung vertically. I removed the hanging cord and restyled this to the back of the board to be hung vertically.
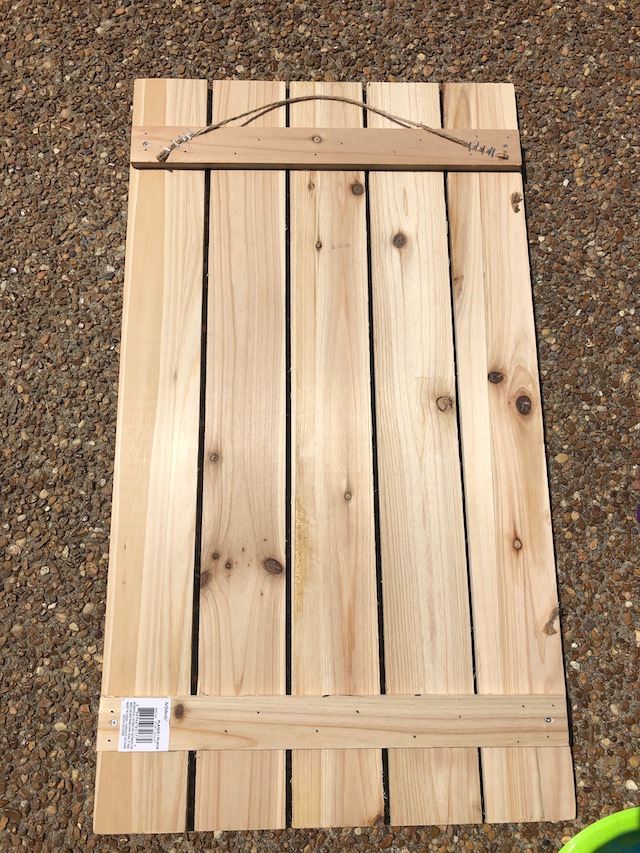
Since this would have quite a bit of weight attached to it, I used multiple staples on both sides of the board. I attached this with my handy dandy staple gun.
Step #2
I used the acrylic craft paint on the board and quickly discovered that I would need two coats to gain the color that I desired. This paint dries fairly quickly, and I was able to move onto the next step in about 30 minutes.
Step #3
Now that my board had 2 coats of paint, I grabbed my other supplies to attach the cup hooks.
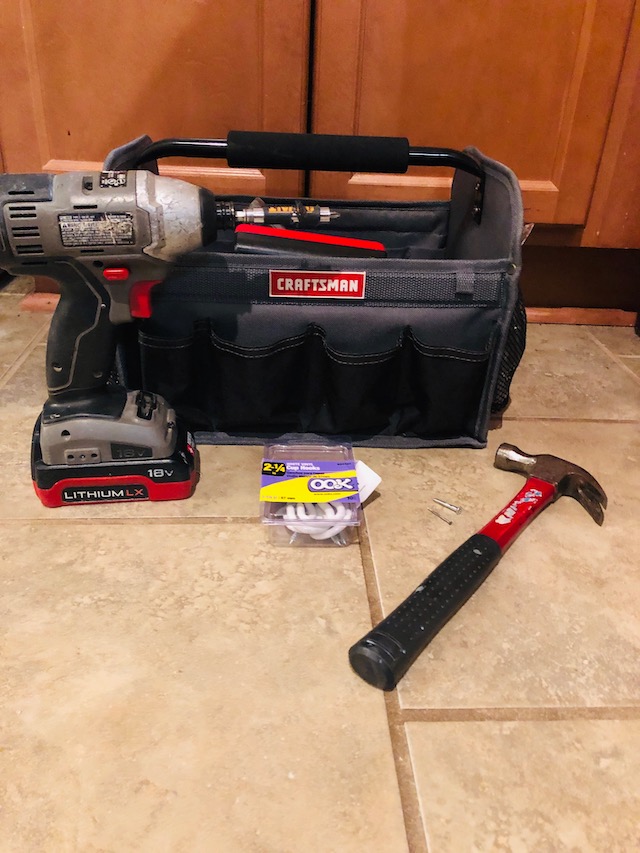
Needed supplies:
- Hammer
- Nail
- Electric Drill
- Screw
- Cup Hooks
Step #4
- I found that it is easiest to hammer a nail in slightly where I would like to attach a cup hook.
- Take out this nail and use your screwdriver to partially insert the screw
- Remove the screw
- Screw in the cup hook
It is highly possible that there is an easier way to insert the hooks, but I found that this was a fairly easy process for me.
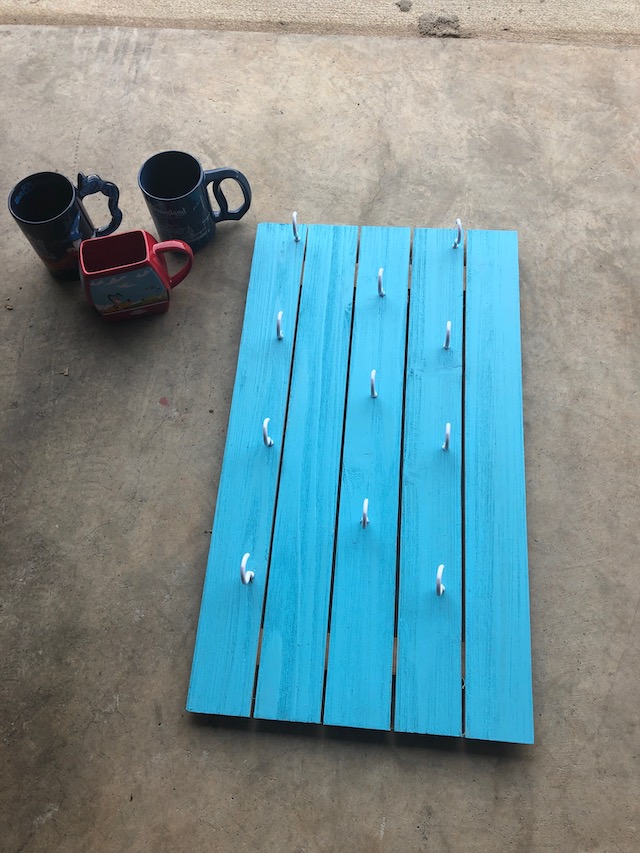
Step #5
I marked the placement of the cup hooks on my project board. The measurements that I used were:
Outside Hooks: 1", 7 ½", 13 ½", and 20"
Middle Hooks: 4 ½", 10 ½", and 17"
Step #6
This was such an easy craft and since I still have a bit of free time, I chose to create a second board for my mug addiction, I mean collection. Yes, for my mug collection. I followed the above steps to create an identical board.
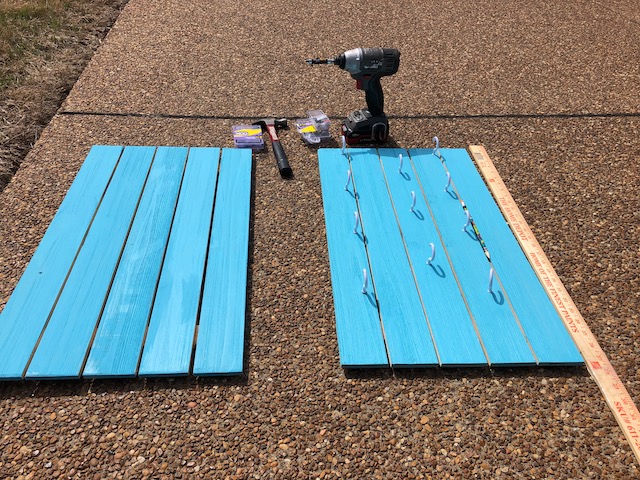
When completing a second board, be sure to use your yardstick or measuring tape to mark the cup hooks identically on both boards.
Step #7
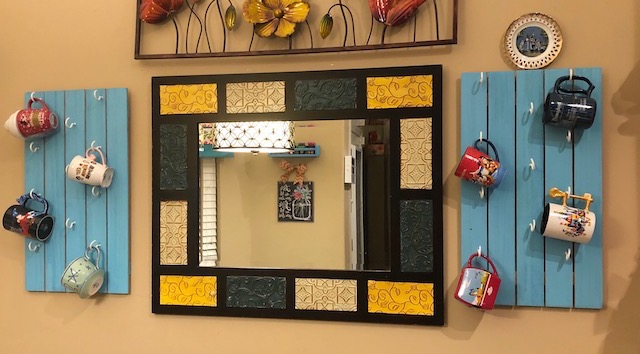
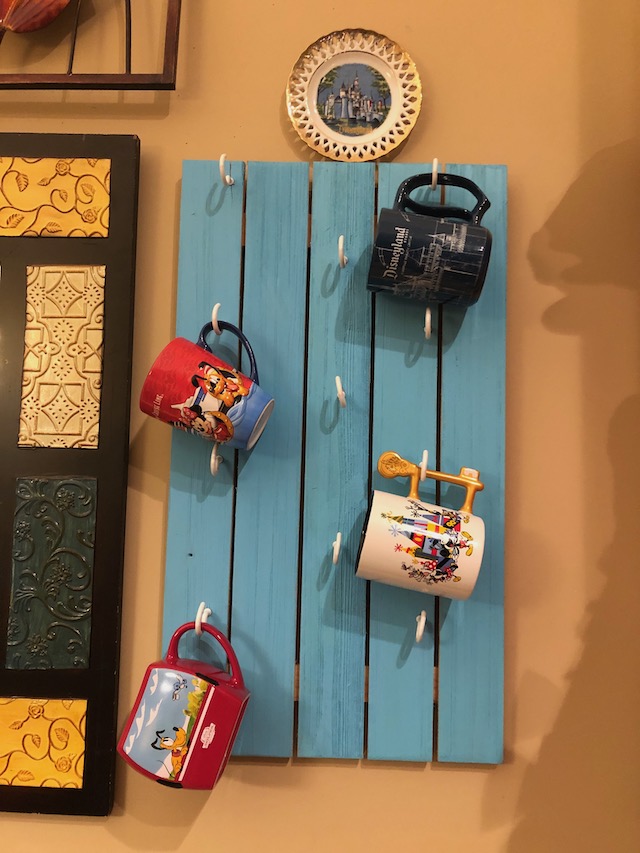
This was the most fun, the hanging of the mugs. I used two picture hanging brackets to hang each board on the wall. My handyman husband approved of this hardware choice. I loved being able to see our beautiful memories and to have room for more to be added later.
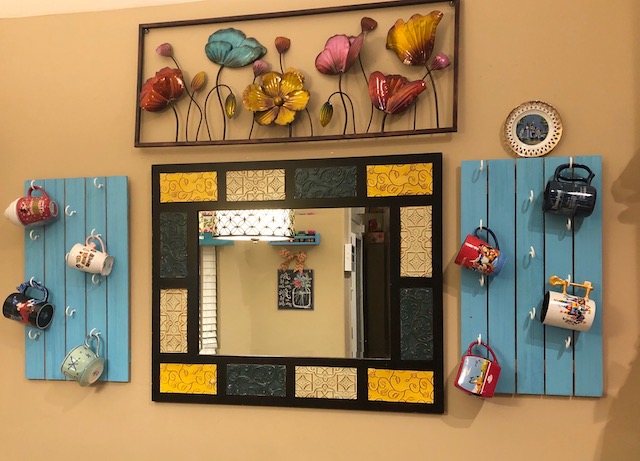
We loved the way that this turned out. We were able to have a symmetrical display on either side of the accent mirror in our kitchen.
We have added mugs from Disneyland, the Disney Cruise Line, Mickey's 90th birthday celebration, commemorative 2016 mug, Mickey's Very Merry Christmas Party 20178, and a Mad Tea Party teacup.
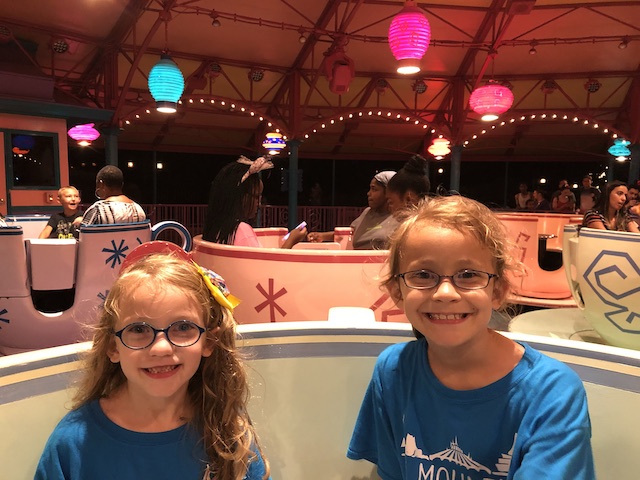
Another favorite memory was of the Mad Tea Party attraction. My oldest princess absolutely loves this whirling ride.
Every trip to the Magic Kingdom, she enjoys riding in the teacups both in the day and at night. When riding with my princess, she enjoys spinning at quickly as possible.
I love the image of pure joy on her face during this ride. This is such a priceless memory and this mug reminds me of that memory every time that I see it.
If you haven't yet, take a look at Marisol's home tour! Her whole house looks like one giant beautiful Disney craft.
Will you be completing a mug board for your home? Have you completed another DIY Disney project during your downtime? Share your pictures and your DIY projects with our KtP Planning Crew and on our Facebook page.