DIYsney: How to Make Your Own Mickey-Inspired Ornament Wreath
Are you looking for a magical Christmas craft to help you deck your halls? Here are directions for making a fun Mickey-Inspired Wreath!
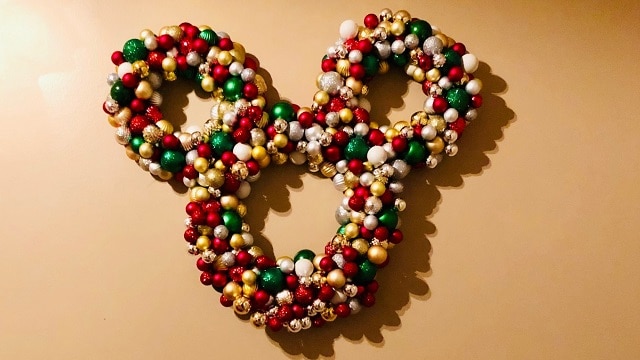
DIY Mickey Wreath
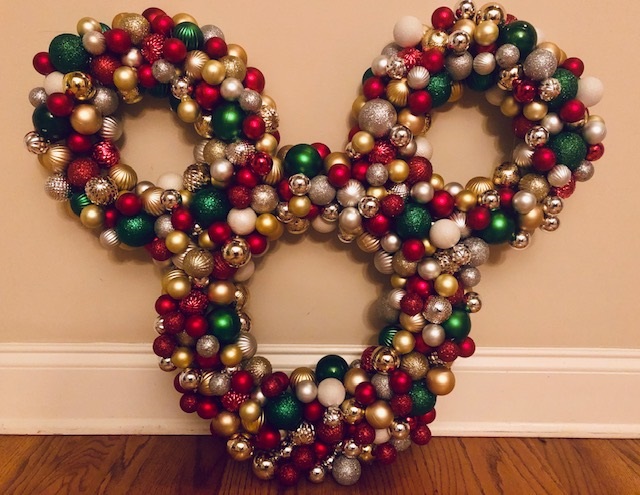
If you are looking for a show-stopping Disney-inspired Christmas decoration to make your holidays merrier, this Mickey ears inspired wreath is a relatively simple option. Here are the steps for making your own!
Like all of my favorite craft projects, this wreath is pretty easy to assemble. It is a bit more time consuming than the other Disney inspired holiday projects I have done. However, it was worth the effort.
Materials:
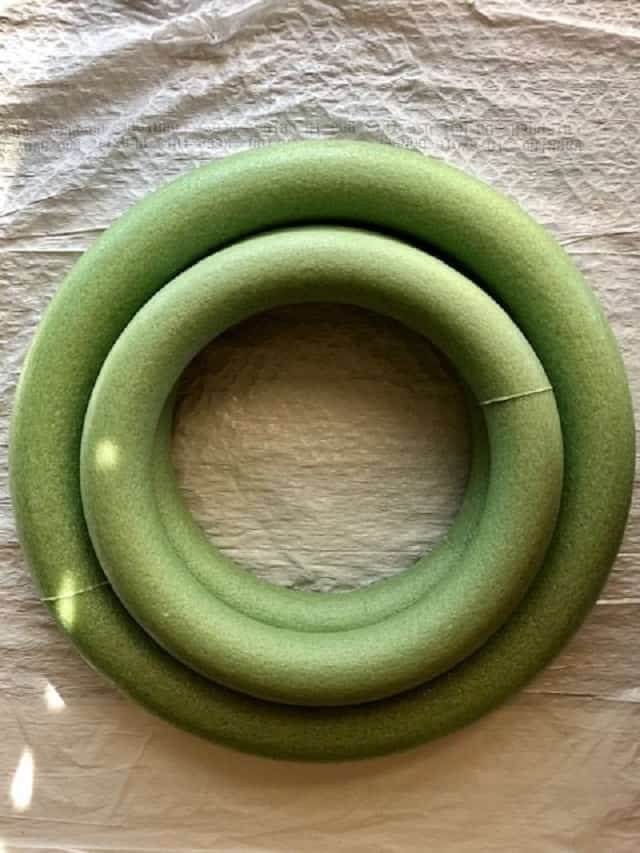
1. One larger sized foam wreath form (from the floral section of the store). This one is 35 cm., but you can use whatever size you like.
2. Two smaller sized foam wreath forms. These are 26 cm, but you can use any smaller size that you like. Basically, if the smaller ones fit inside the larger one, the proportion will work.
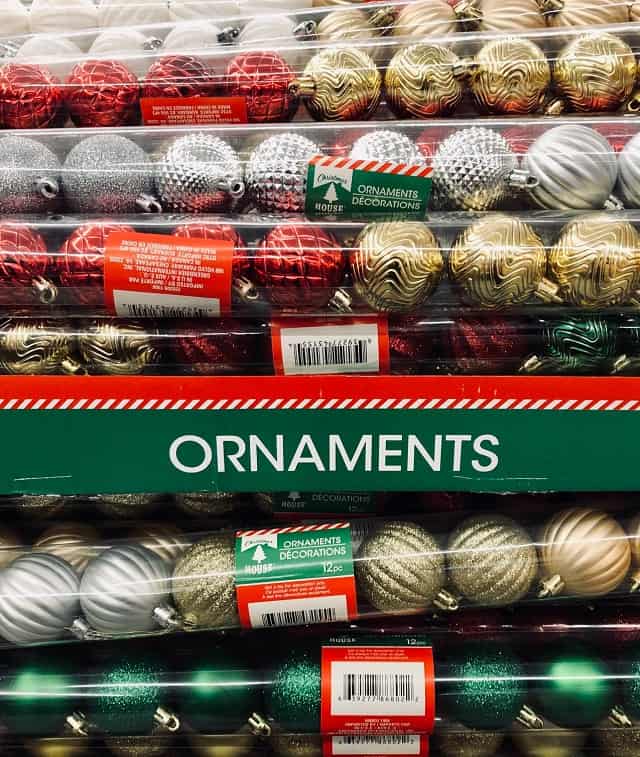
3. A whole LOT of shatterproof Christmas ornament balls. Uniform or various sizes will work. The bigger the wreaths, the more you will need.
4. A hot glue gun-any size will do. Mine is a Mini, but a large one will probably help you work faster.
5. Hot glue sticks AND extra hot glue sticks. And more extra hot glue sticks. You can never have too many.
6. Something to protect your surface while you work. I am not fancy, so I just use trash bags.
7. Something to use to hang your wreath. I just used a nail, but 3M will work too.
8. Optional items: Craft paint. And, any other decorative items you may want to add to your wreath. For example, you can use a bow to transform it into a Minnie inspired wreath.
Where to Shop
I got most of the materials for this project from the Dollar Tree. It takes a lot of plastic ornament balls, and I could get tubes of 16-20 for a dollar, which is much less per ornament than anywhere else I searched.
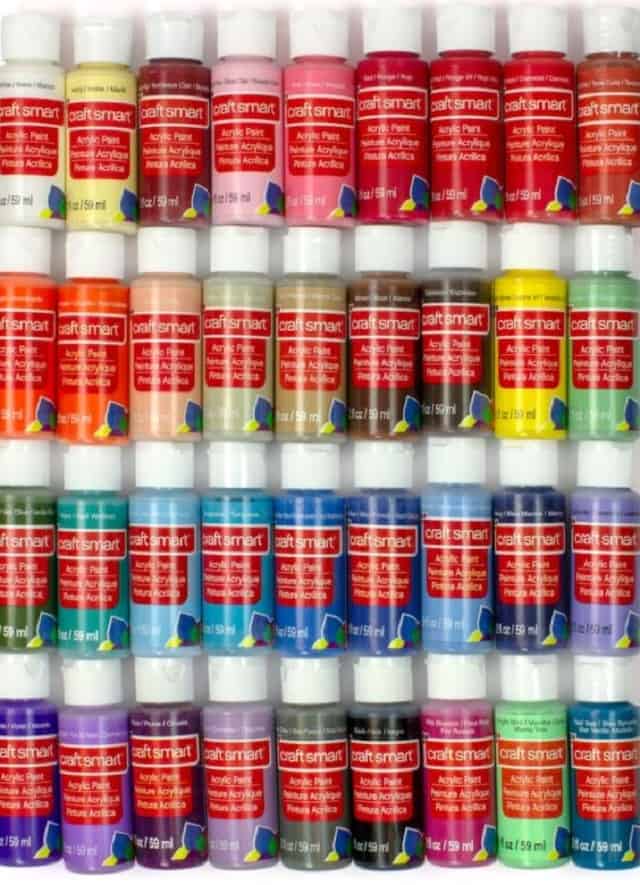
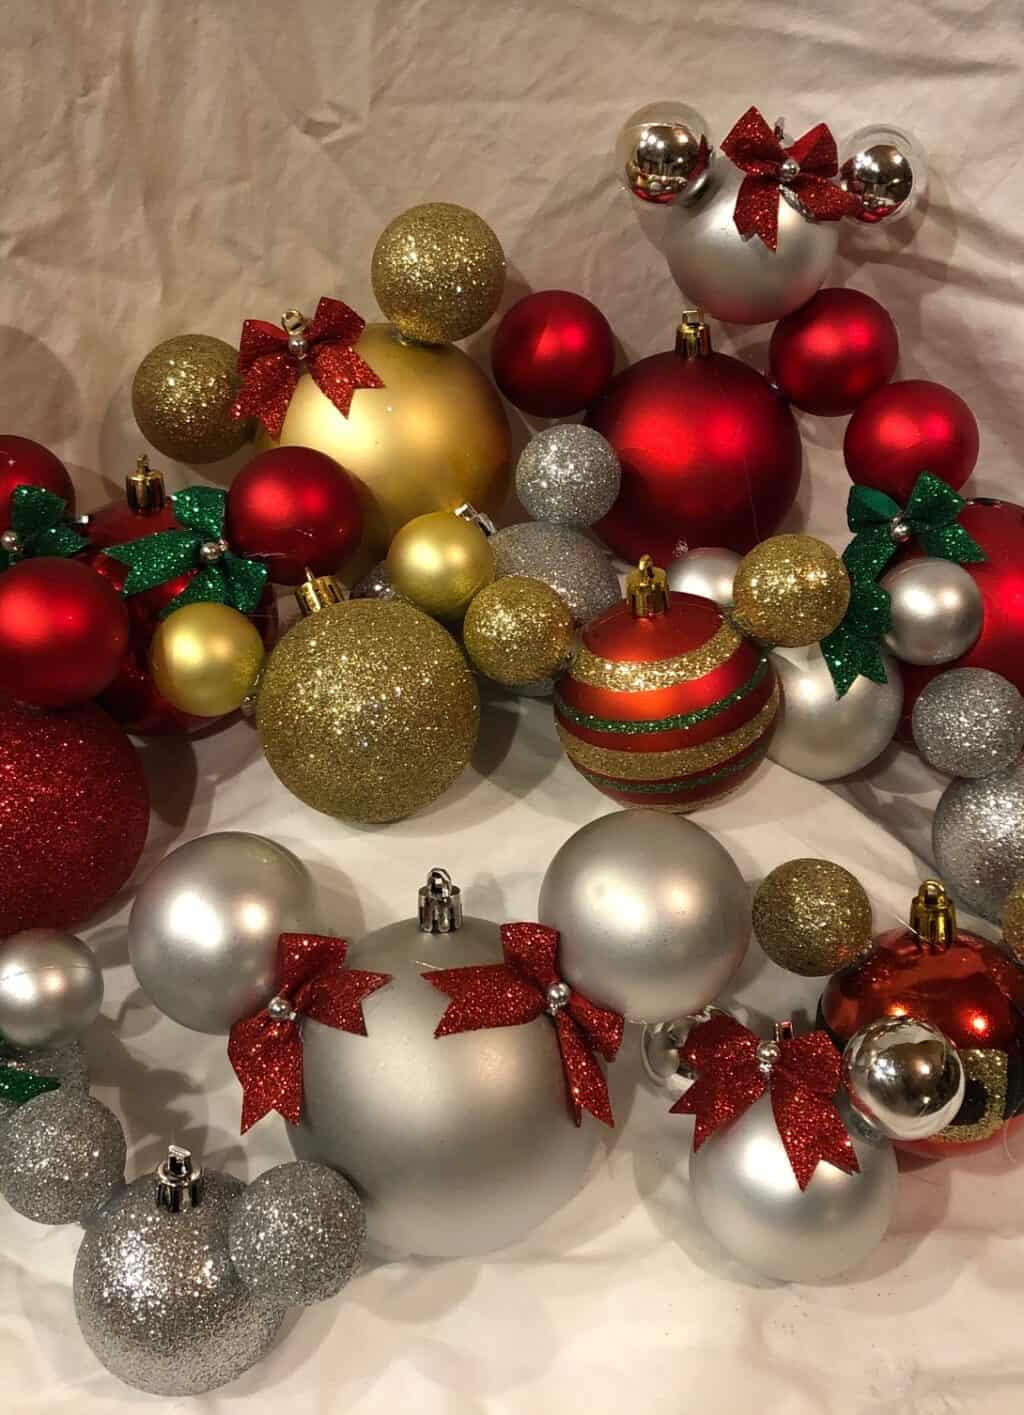
Again, the larger your wreath, the more you will need. Select colors from the palette you want. I went with silver, gold, red, white, and green for this one.
You might have luck shopping during after-Christmas sales as well if you want to make a wreath for future holidays. But, if you want to try it right away, that won't be an option.
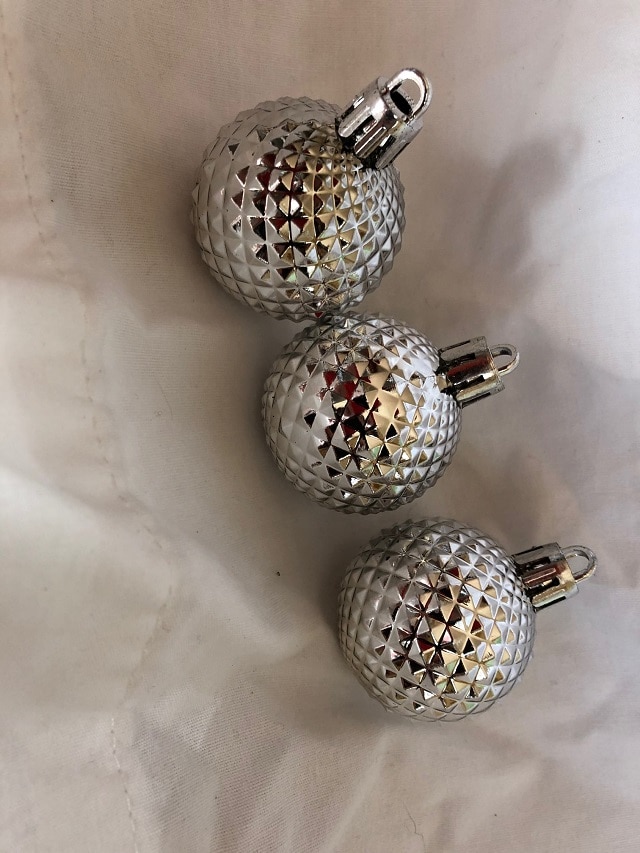
Target, Wal-mart, Amazon, and plenty of other stores have similar materials, but I found plenty of pretty options at Dollar Tree. I was particularly pleased with these little Spaceship Earth look-alikes.
The only thing I could not find was the large wreath because every Dollar Store was sold out. My local Michael's, fortunately, had one available, and a 50% off coupon made it cost about $3.
Once you have your materials, the fun can begin! The nice part about this project is that there is really no way to mess it up.
You can plan out a calculated pattern and be meticulous about your placement. On the other hand, you can just go with the flow and see what materializes. For this project, I just went with the flow.
Steps 1:
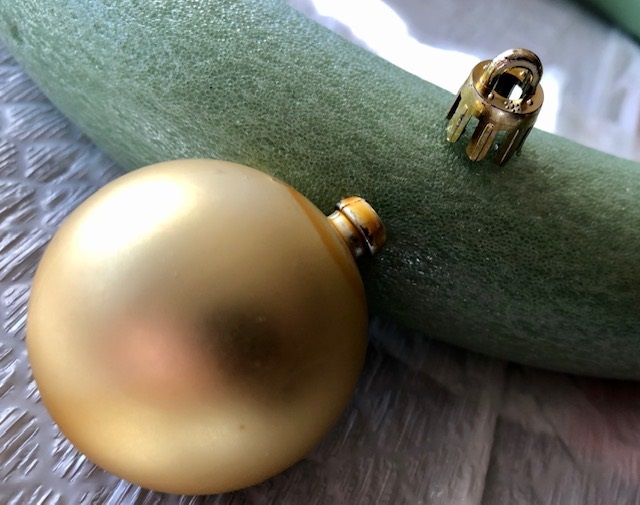
Remove the caps from your ornament balls. This is pretty easy if you are using Dollar Tree balls because they just pop off.
This will expose the nubs. You do not want to remove these nubs, however. You will need them to stick the balls into the wreath.
Step 2:
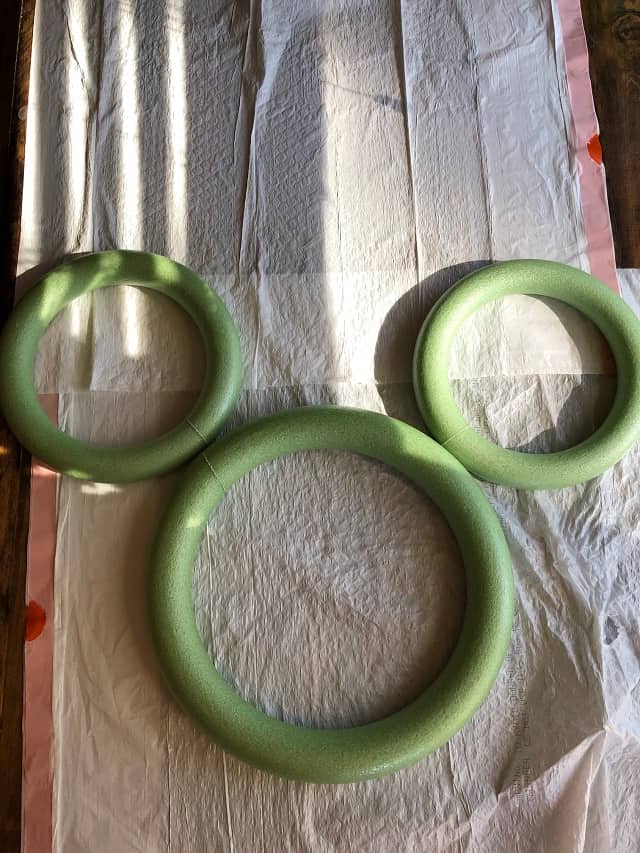
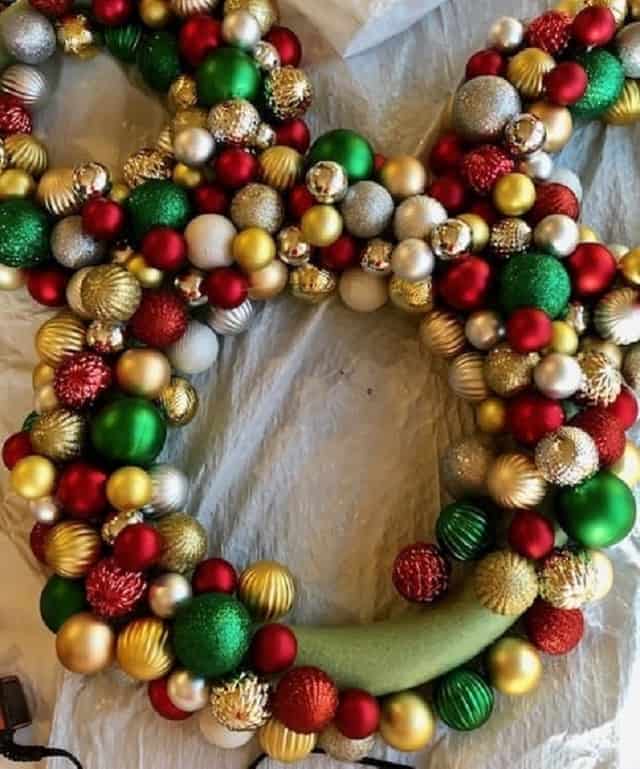
Build your Mickey wreath form. You can achieve this by attaching the two smaller foam wreaths to the larger one. Use plenty of hot glue, and that should do the trick.
You can measure and mark your wreath if you want to be certain it will line up perfectly. However, you can also eyeball it.
I eyeballed this one to get it to "close enough" status. But, if that drives you crazy, get out your measuring stick and a mark maker.
Optional Step

If you do not like the color of your wreath, you can paint it. I liked the green color with my color scheme so I left it alone.
However, if you think there is a chance you won't like it, go ahead and paint it with some craft paint. Metallic paint like gold or silver is typically a great look.
Step 3
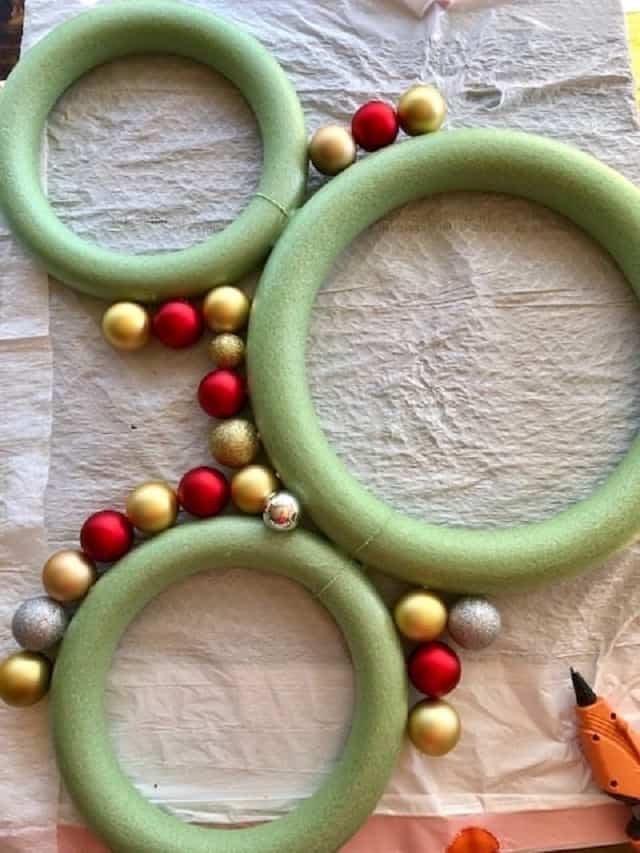
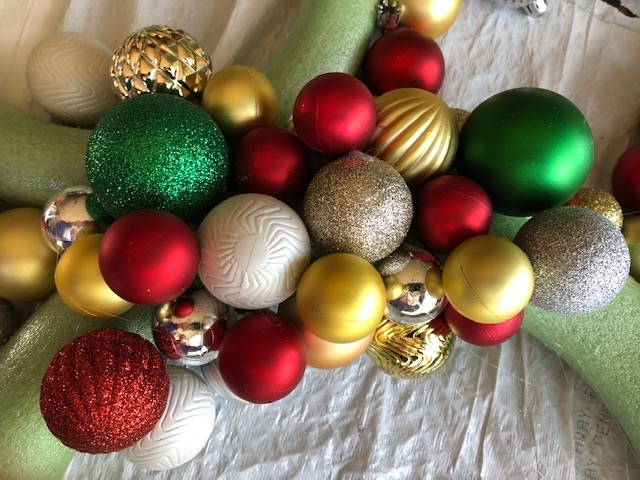
Once you have your wreath form built, you can begin placing the balls around the outside of the wreath. Doing this requires 2 steps.
First, press a ball into the wreath to make a hole, and then remove it. Next, put glue into the hole and replace the ball. Now it should hold firmly.
Repeat the process in step until the entire outside of the wreath is covered in bulbs. Make sure you keep the wreath flat and level during this process. Don't let any balls scoot around to the back portion, or you will not be able to hang it flat against the wall.
Step 4
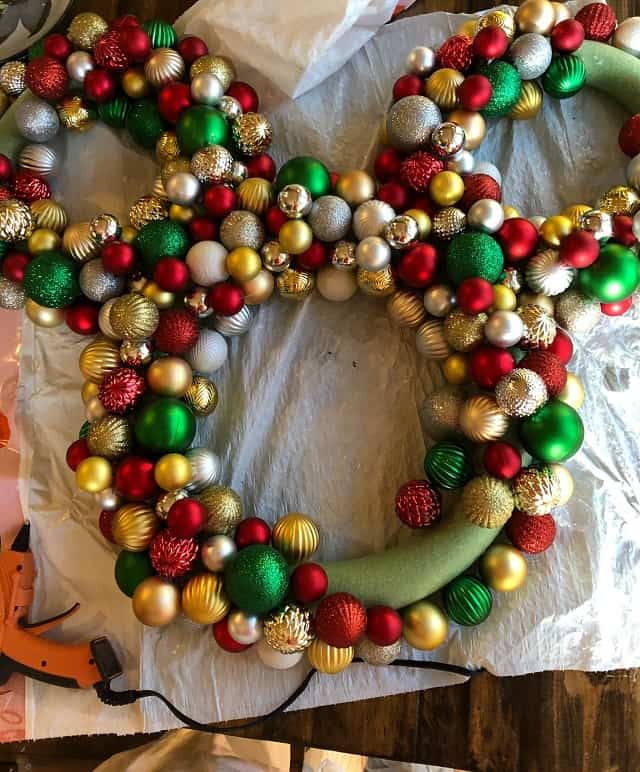
Now you can begin filling in the rest of the wreath. Use the same pattern of pushing in the ornaments, removing them, adding glue, and replacing them.
For my placement, I just tried to made sure not to cluster too many like ornaments near each other. I also tried to showcase some of the more unique ones.
Step 5
At some point, you will find that you have spaces where you cannot press the balls into the wreath because the spaces are too small, but you can still see the wreath form. In that case, go ahead and layer an ornament on top of the others to plug up the hole.
You can use hot glue to adhere the ornaments directly to one another. Just make sure you place them so that the nubs are hidden by facing them downward toward the wreath form. You will end up with layers of ornament balls.
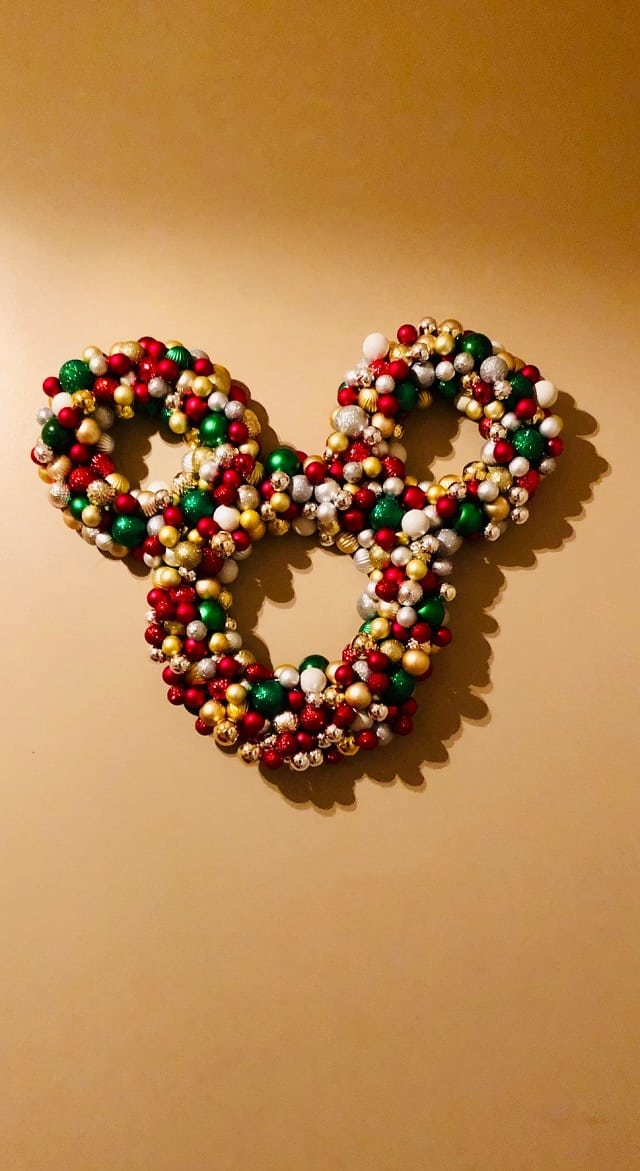
Step 6
When you have your wreath JUST the way you like it, you can hang it using the hanger of your choice. I hung it directly on a nail, and it did well.
Be careful because it may be heavier than expected after you get it together. It is also relatively fragile, so try not to bump it around too much.
I ran out of balls about ⅘'s of the way through mine and had to return to the store, but then I was able to finish!
Can Kids Help?
Since this project involved hot glue, it was not one my little ones could fully participate in at their ages. They could pry the caps of the ornaments, and they could press them into the wreath form, but that was all I was comfortable with them doing.
However, they did love helping me shop for ornaments and had fun sorting them. They also enjoyed seeing the progress as it came together.
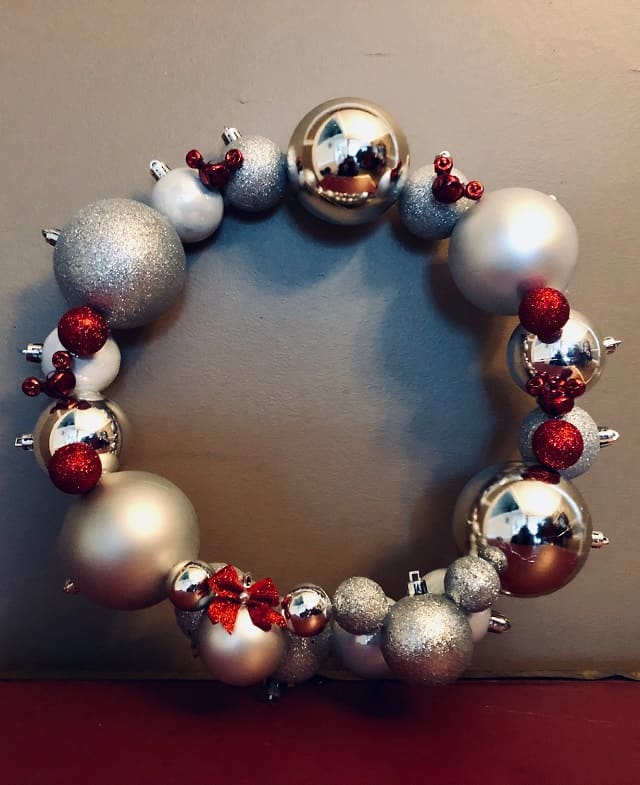
We also had some fun figuring out what to make out of the leftover ornaments from the second run to the store.
If you make this project, I'd love to see how it turns out. Feel free to post it in the Kenny the Pirate Facebook Group! What Disney Inspired Projects Do You Enjoy Making?


Nice!
Very colorful
Love!!
Nice!