DIYsney: Snowglobes and Ornaments Using your Memory Maker Photos!
Today's DIY is going to help you make use of all 8,000 Memory Maker photos you've accumulated over the years! Since it's the holidays I thought it would be a fun idea to make some ornaments for the grandparents and a snowglobe!
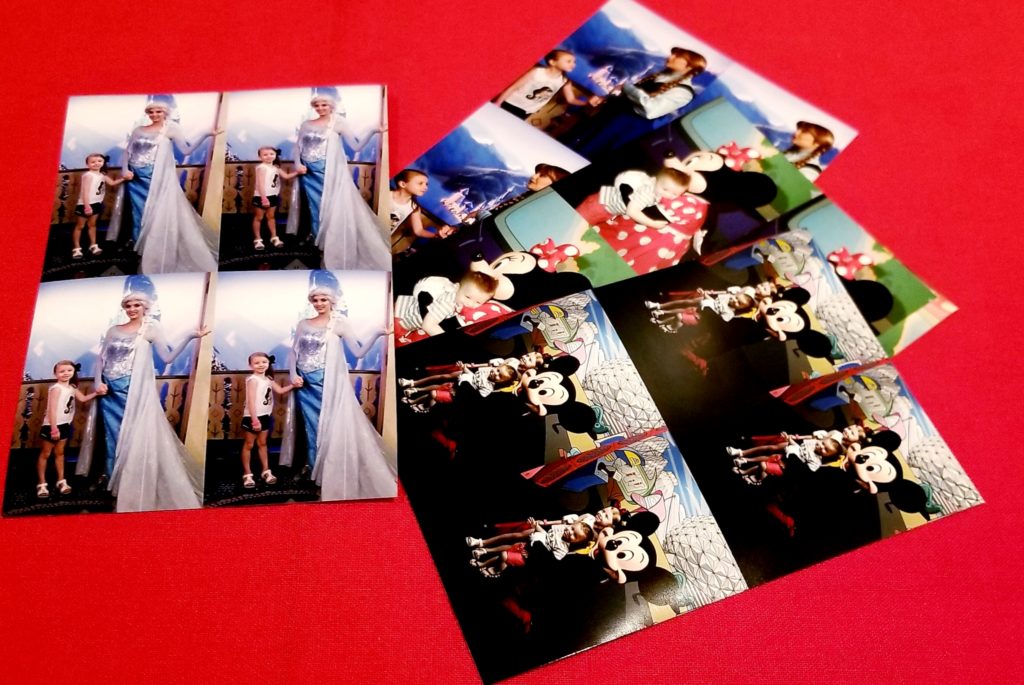
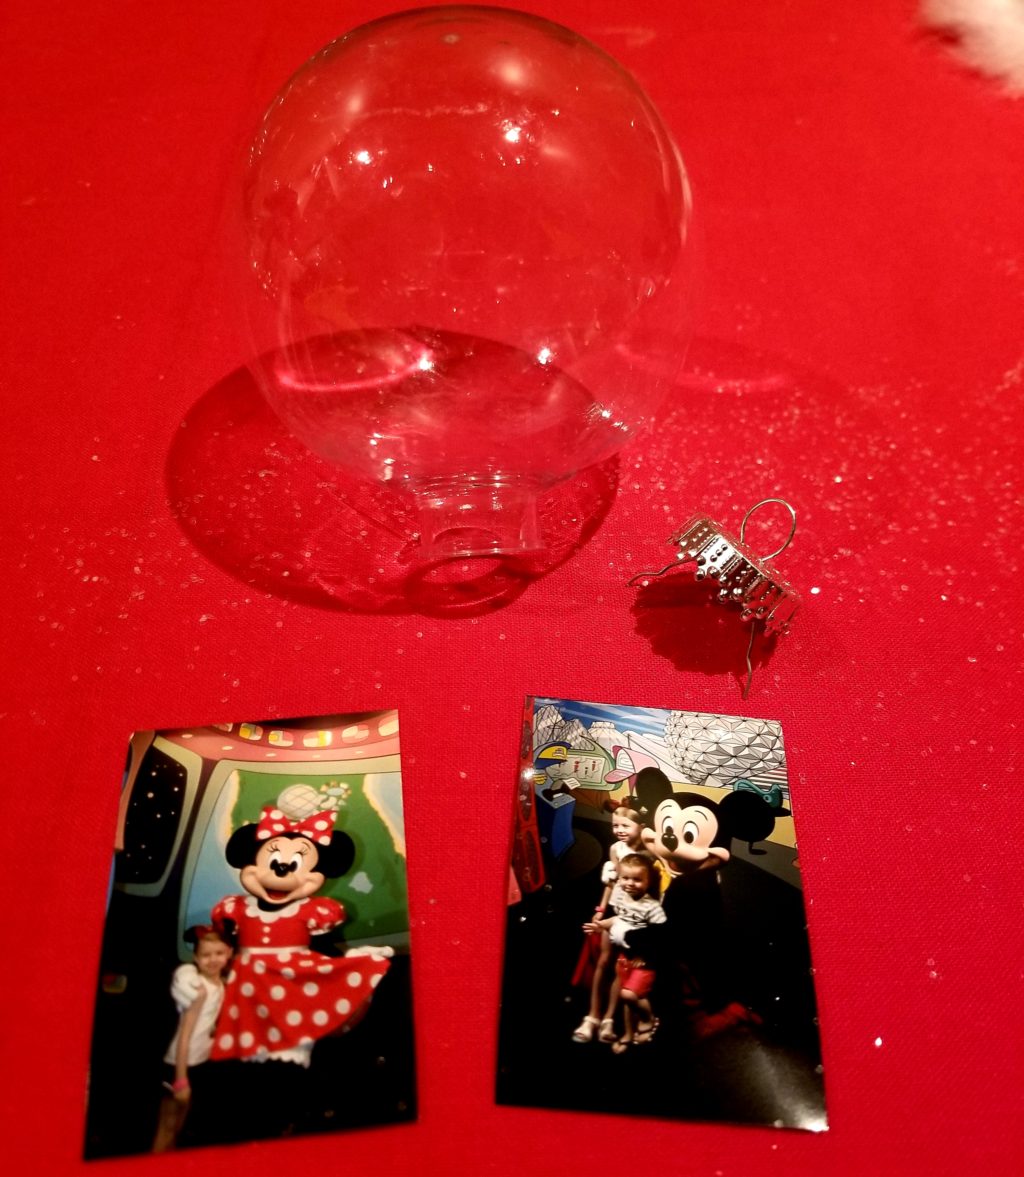
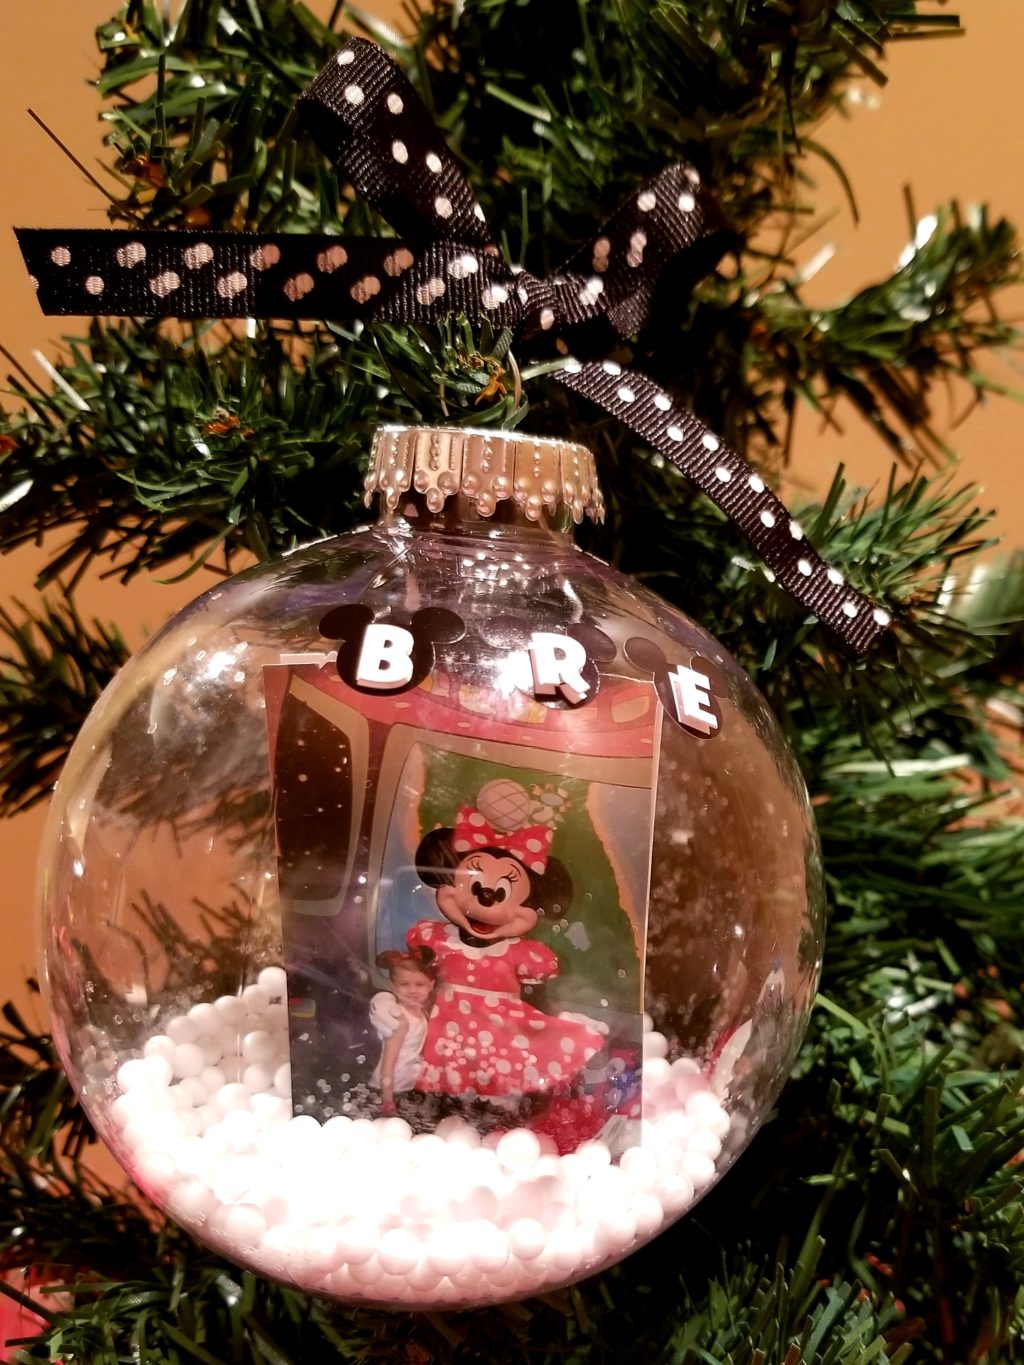
First, you'll need to select your photos. I chose my kids meeting Mickey and Minnie Mouse for the ornaments since the red in Minnie's dress seemed appropriate coloring for the holidays.
Next, I selected my daughter meeting Anna and Elsa to go in our snowglobe. I uploaded my photos to Walgreens and chose the wallet size (for both projects). You will get a sheet of 4 which is nice because as you will later see you'll need the photos to have a front and a back. Make sure to look for a Walgreens photo coupon!
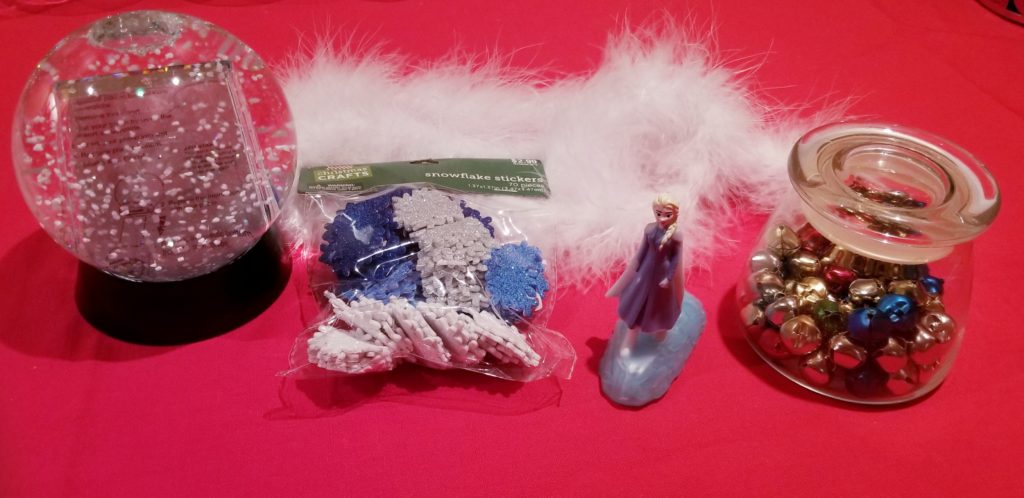
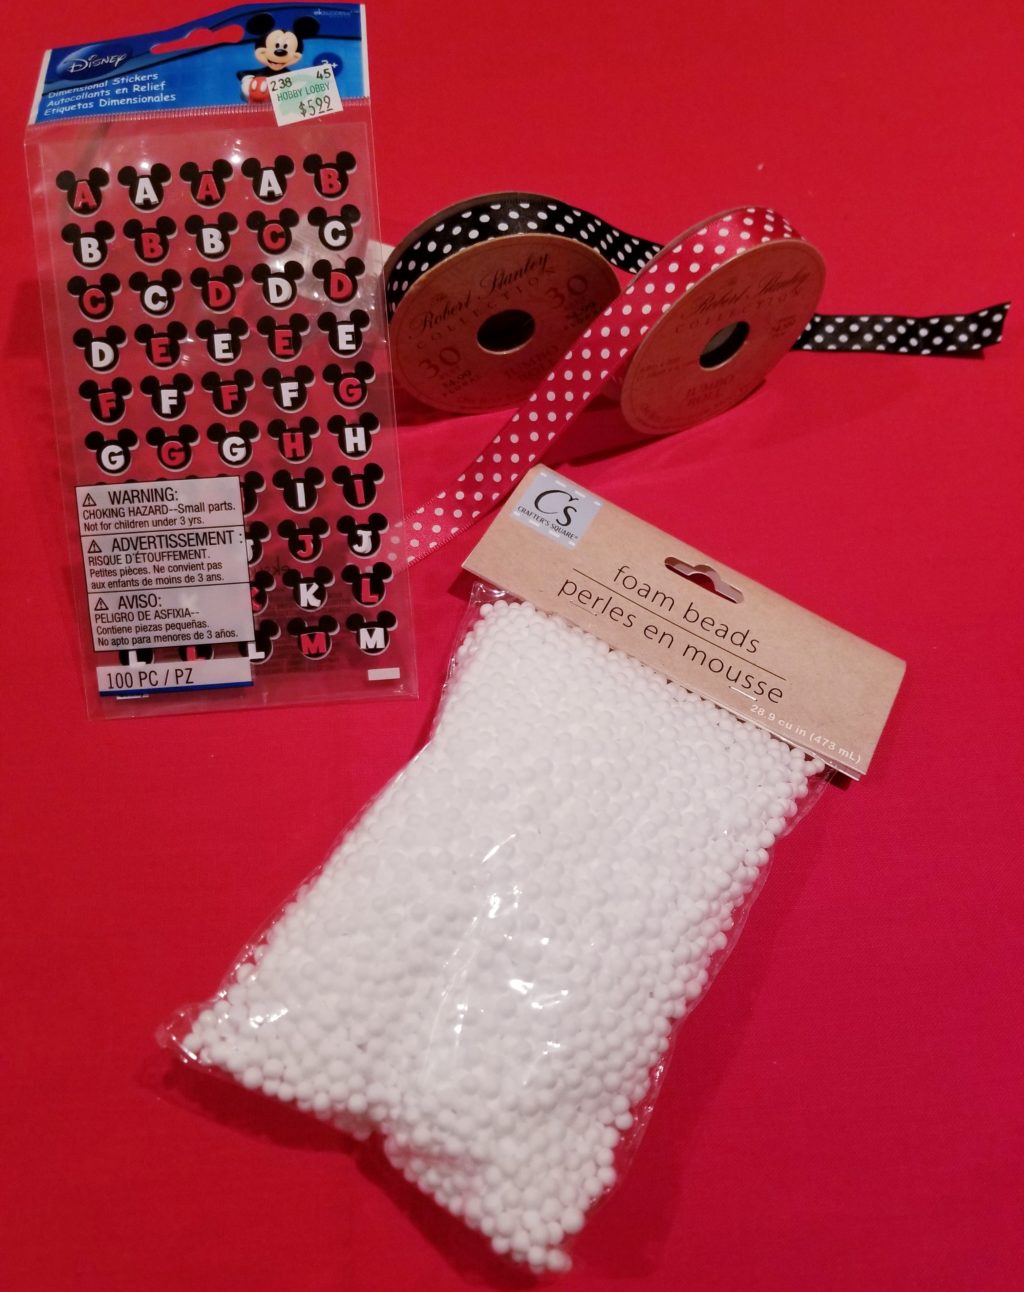
The next step is to head out to purchase your supplies and pick up your photos! For these projects, you will need the following from your local craft store (I went to Hobby Lobby):
- clear plastic ornaments (as many as you need)
- foam beads for ornament filler
- snowglobe
- ribbon
- stickers
- bells (optional)
- scissors
- hot glue
- glue sticks (for photos)
Snowglobe DIY instructions
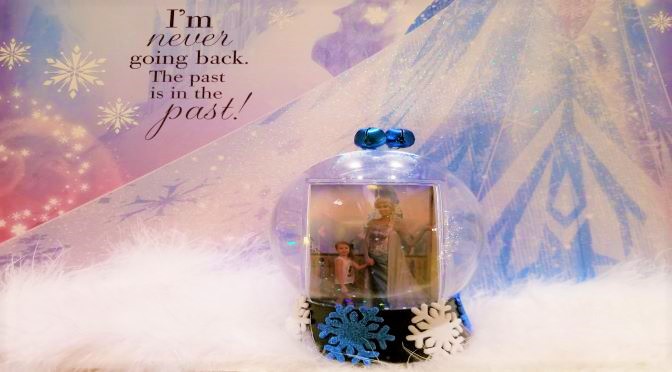
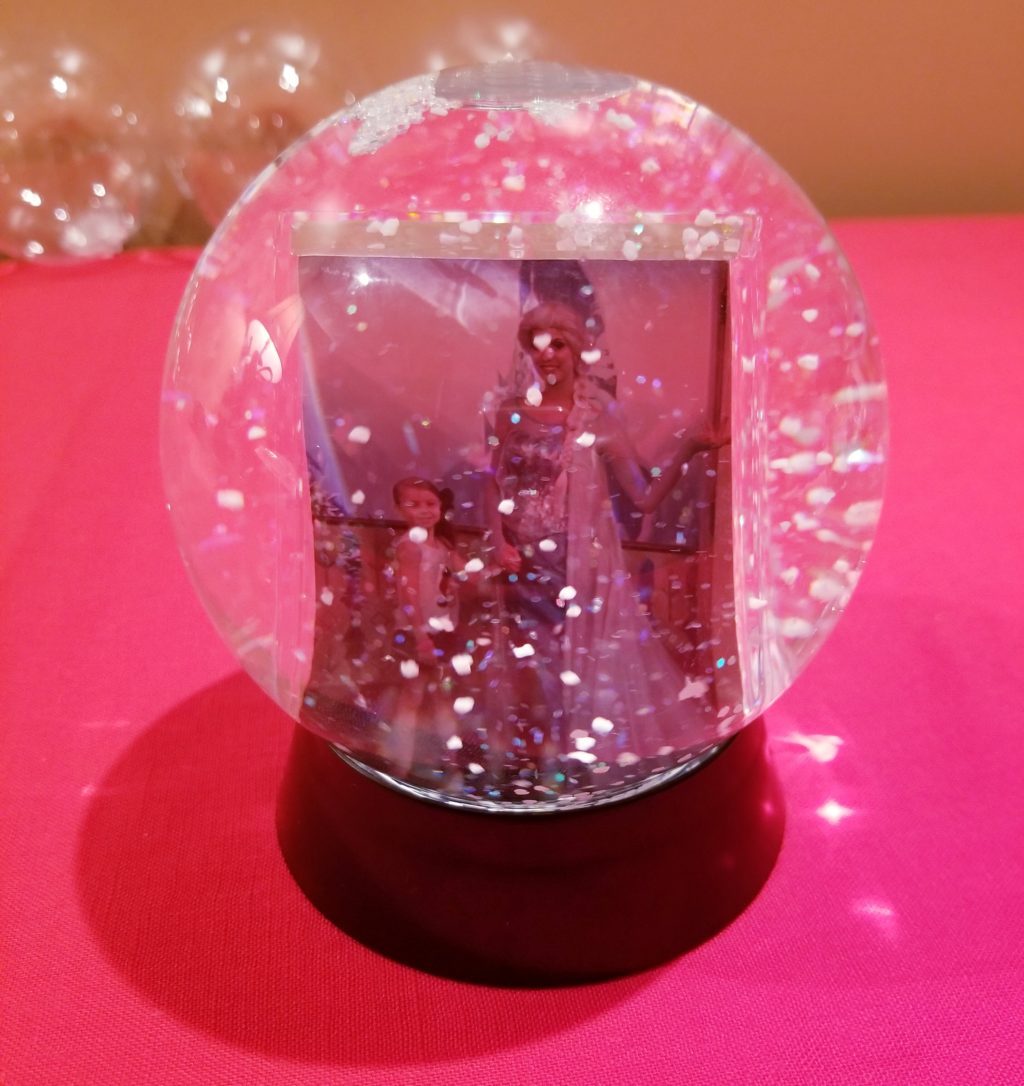
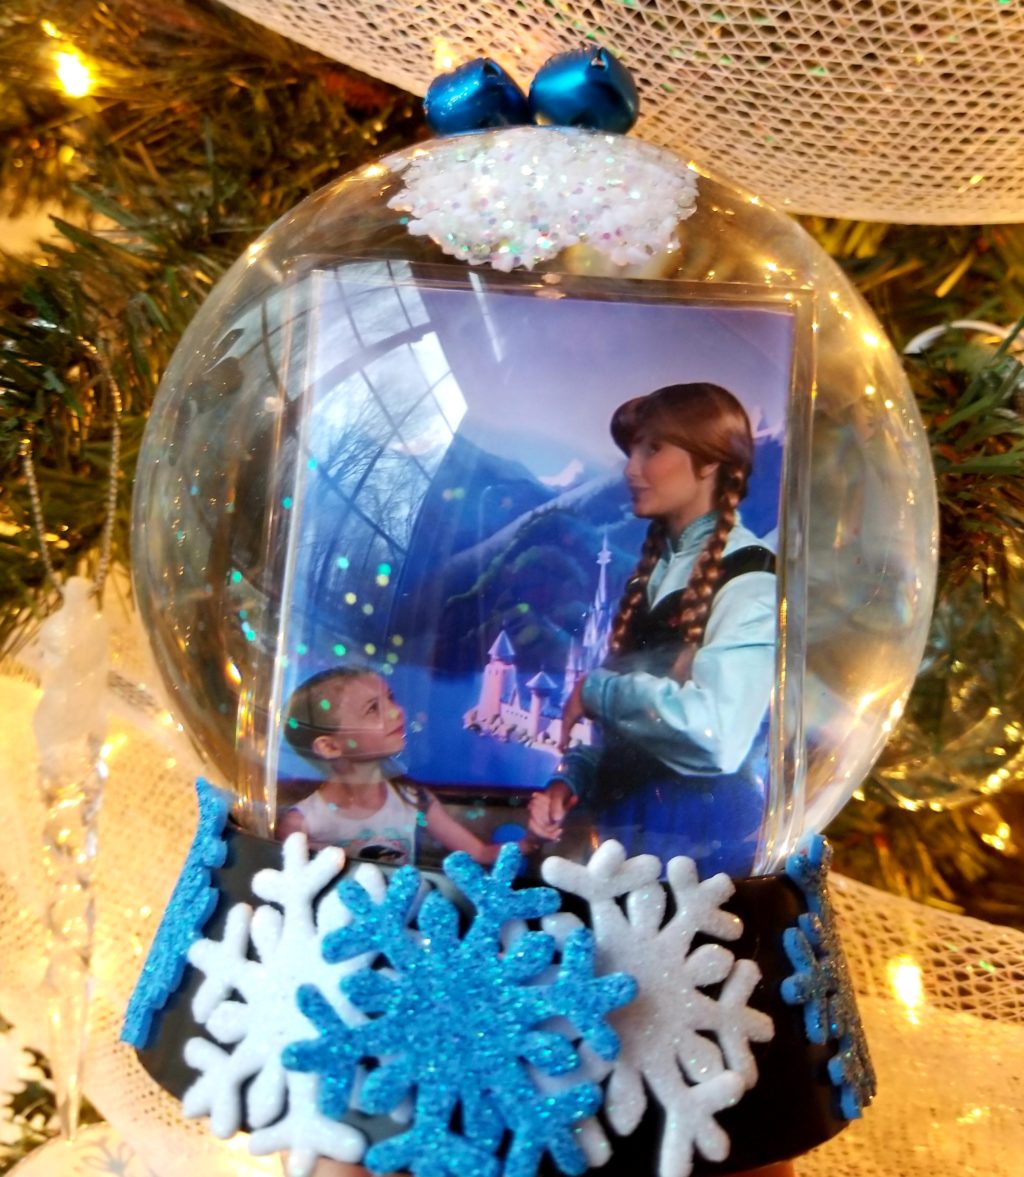
Let's first start with the snowglobe! I chose a Frozen theme for mine to go with the photos I chose of my daughter meeting Anna and Elsa.
First, cut out two photos (can be the same or different). I chose one of my daughter meeting Elsa and one of her meeting Anna.
Take your glue stick and heavily rub all over the back of each photo. Next, put the two photos together so that when you put it in the snowglobe you will have a picture for the front and back (don't make my first mistake of gluing one of the photos upside down).
Then open up your snowglobe and insert the combined photos.
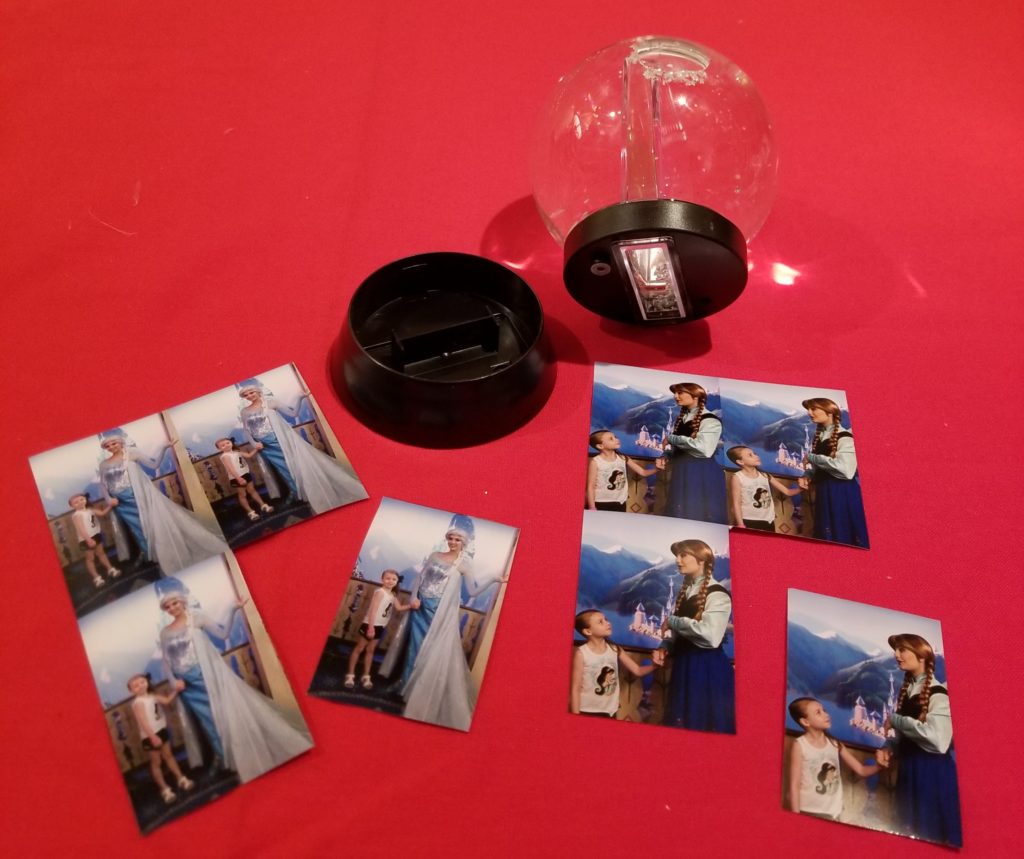
Now here is the fun part and kids can even help out! I chose snowflake stickers to go on the base of the snowglobe and my 6yr old daughter was more than happy to put these on! We used about 8 out of the 70 in the pack (many more to use later for other projects or to make matching ornaments).
I then chose 3 small bells to put on top of the snowglobe and attached with a bit of hot glue. Only use a small amount of glue and wait a few moments to attach as the snowglobe is actually plastic and you don't need the glue to be super hot.
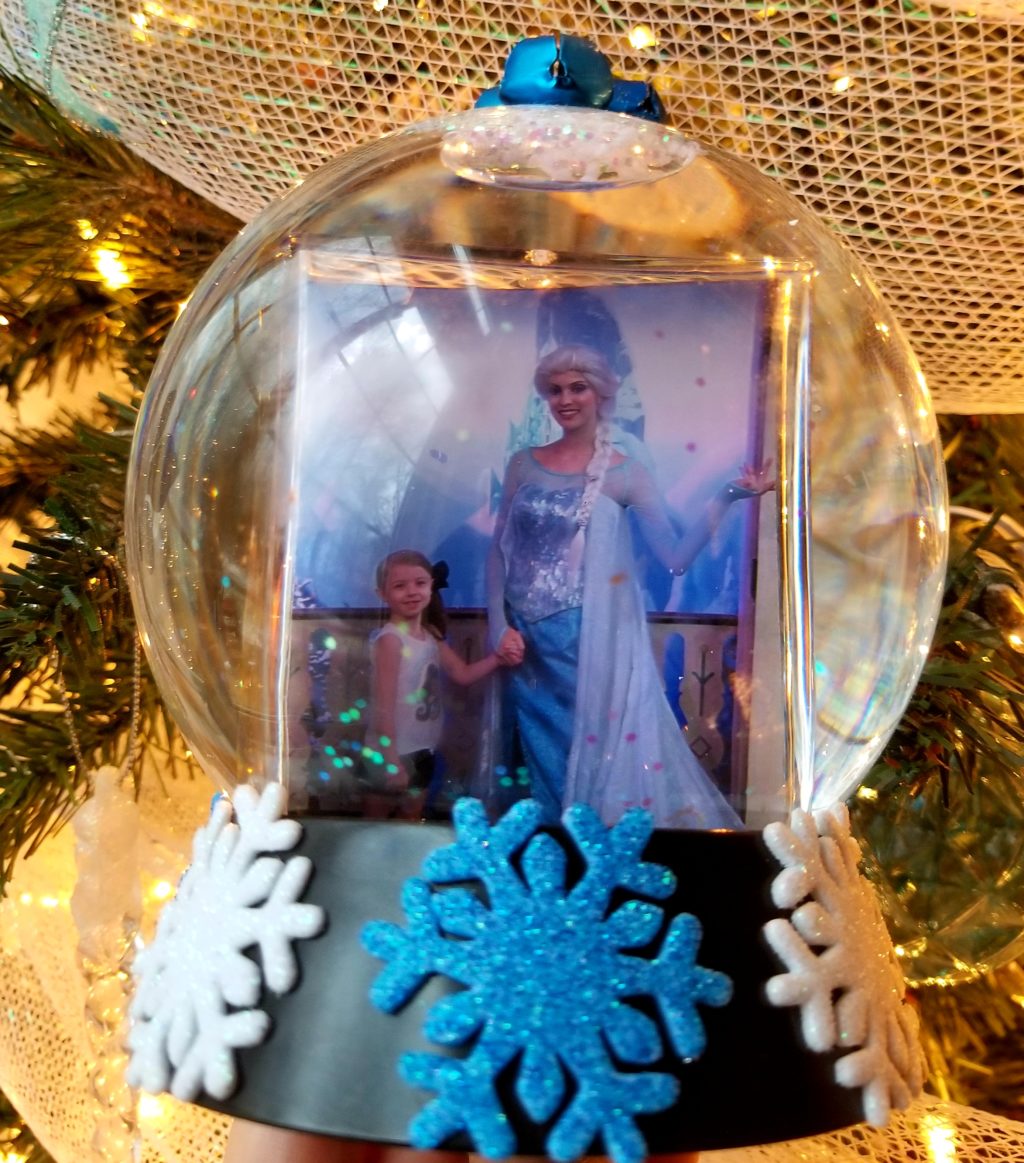
My daughter then remembered her Elsa toy from McDonald's so, of course, we then had to make another snowglobe (this time with the prized Happy Meal toy on top).

We just love how both of these turned out! Although the Frozen theming worked so well, the possibilities really are endless with what you choose to do.
Ornament DIY Instructions
Next up...let's make some ornaments! For these, I chose just a classic Mickey and Minnie Mouse theming to go with the photos of my children meeting them.
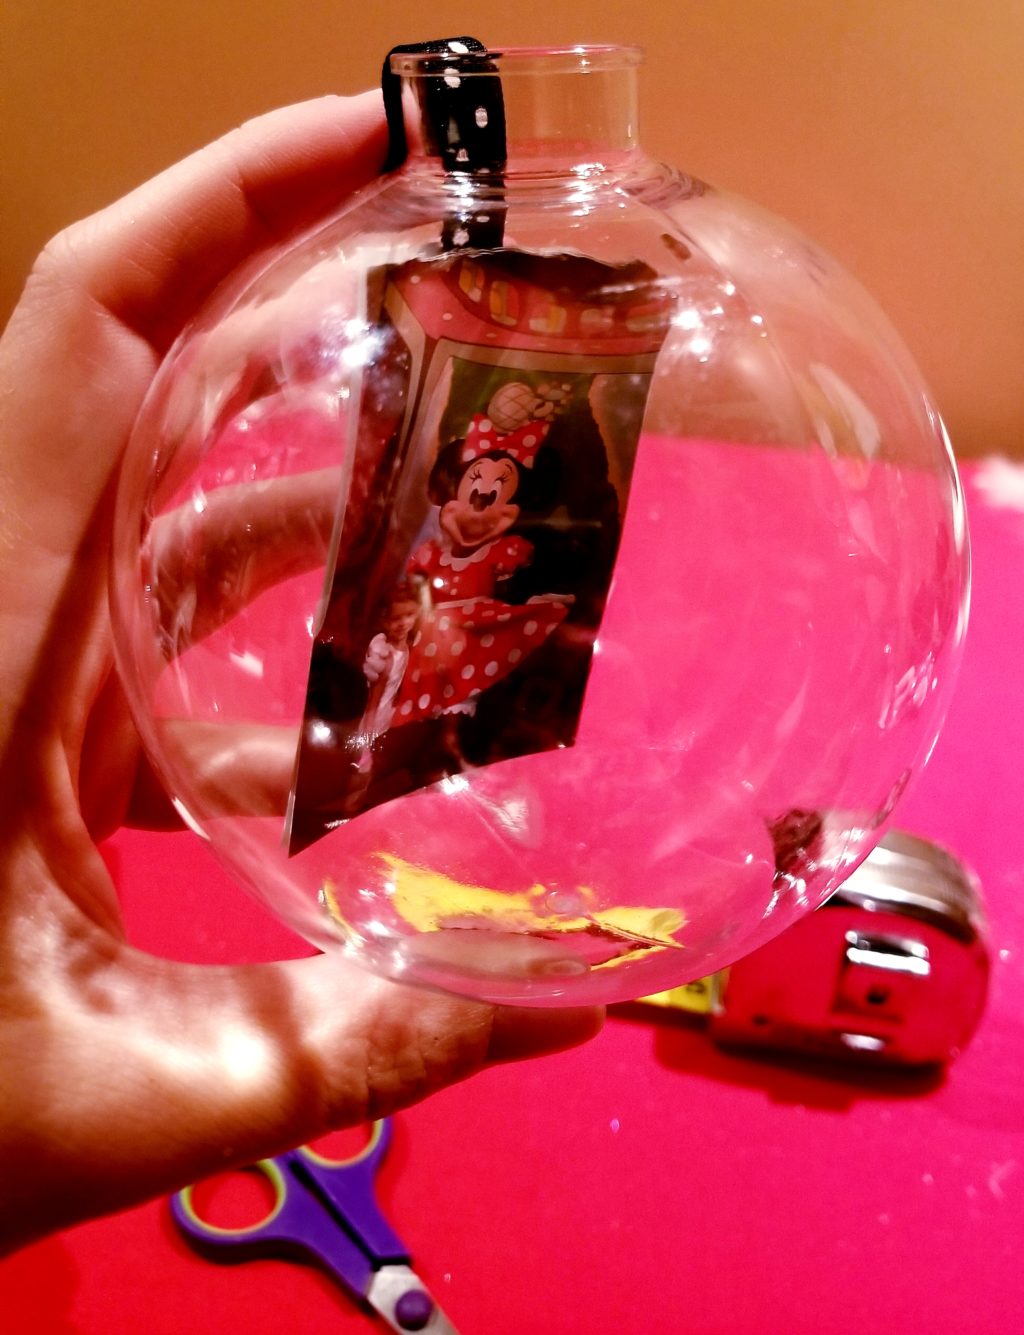
You'll first want to select your photos. Just like with the snowglobe either use two of the same photo or two different ones. Remove the top off the ornament and set aside.
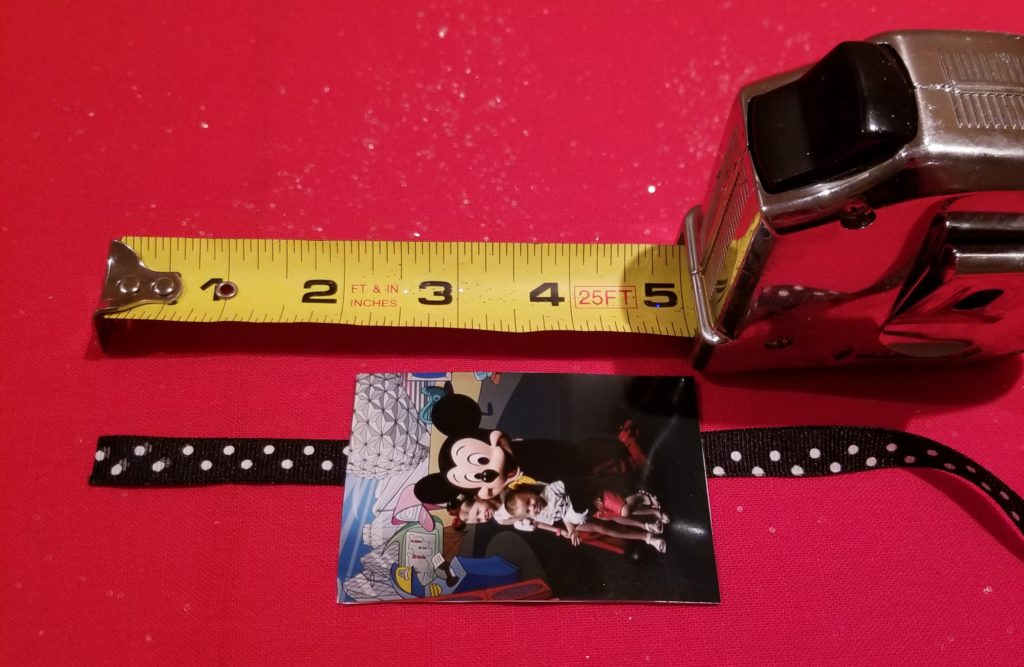
Plug in your hot glue gun. While glue gun is warming cut out your photos and rub a glue stick all over the backs of each one. Then select your ribbon and cut off about 5 inches or less depending on how big your ornaments are.
Now use a very small amount of hot glue to attach ribbon to each picture leaving about 1-2 inches at the top (to attach to the top of ornament). Allow about a minute for the glue to dry then roll picture slightly and insert into ornament making sure to keep hold of that extra inch or so of ribbon.
Your photo will be slightly bent after rolling it but just push it a little against the side of the ornament to flatten back out.
Next, you'll take your glue gun and put a small amount of glue into the bottom of the ornament top (careful it makes the metal hot!) and then attach that extra ribbon onto the lid. Then reattach the top of the ornament back into place.
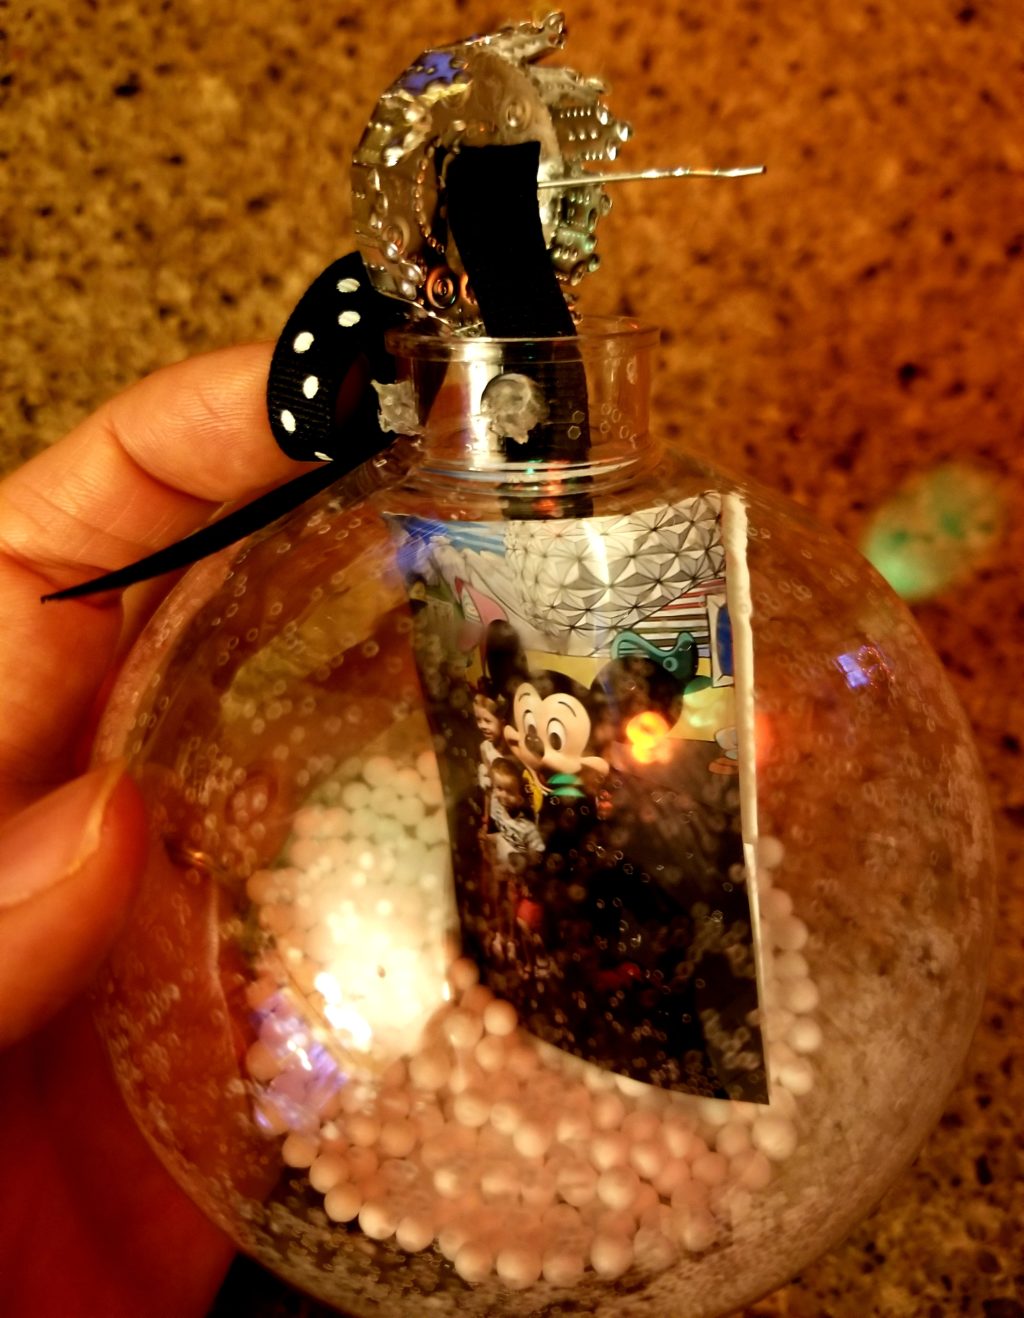
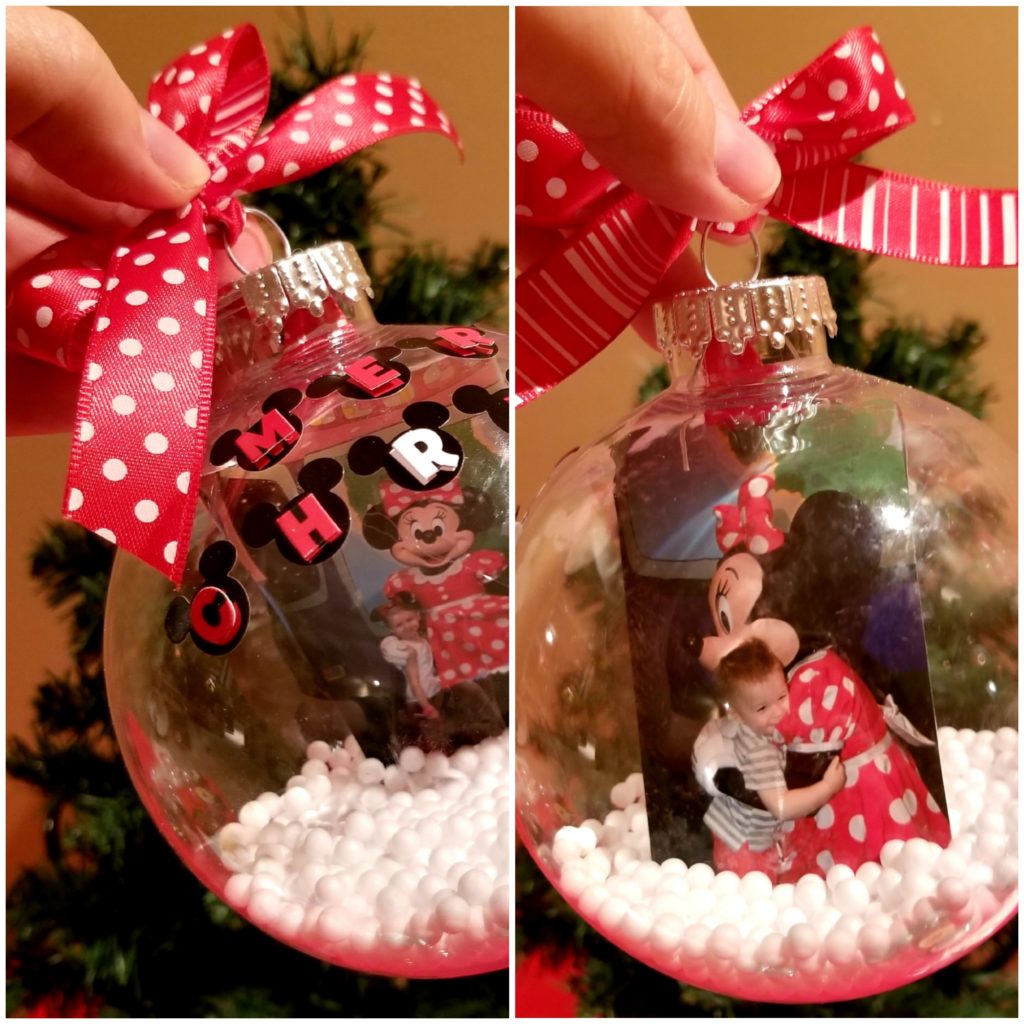
You will now be able to decorate your ornament and add your ribbon for hanging. Kids are able to help with this part. We chose Mickey ear-shaped letter stickers and polka dot ribbons.
I did one ornament with the kid's names on them with black polka dot ribbon and another ornament with red polka dot ribbon that spelled out "Merry Christmas" with the stickers. I didn't add anything to the back of my ornament but feel free to add whatever you wish! Make it yours!
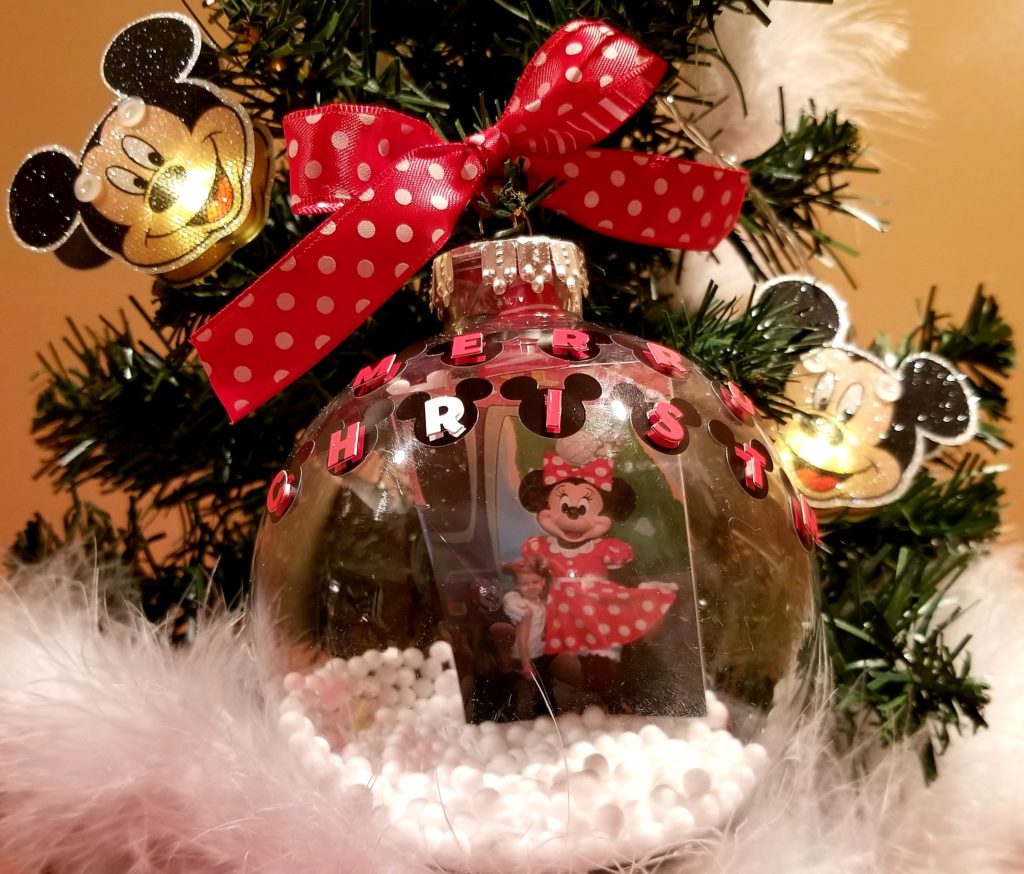
Here are the finished ornaments!
I hope you liked this DIY! It's such a great way to use up all those photos and display or gift them!
Will you be giving these a try? Do you have unique photo ideas to share? We'd love to see them!
Happy Holidays!
Amanda Wesche